
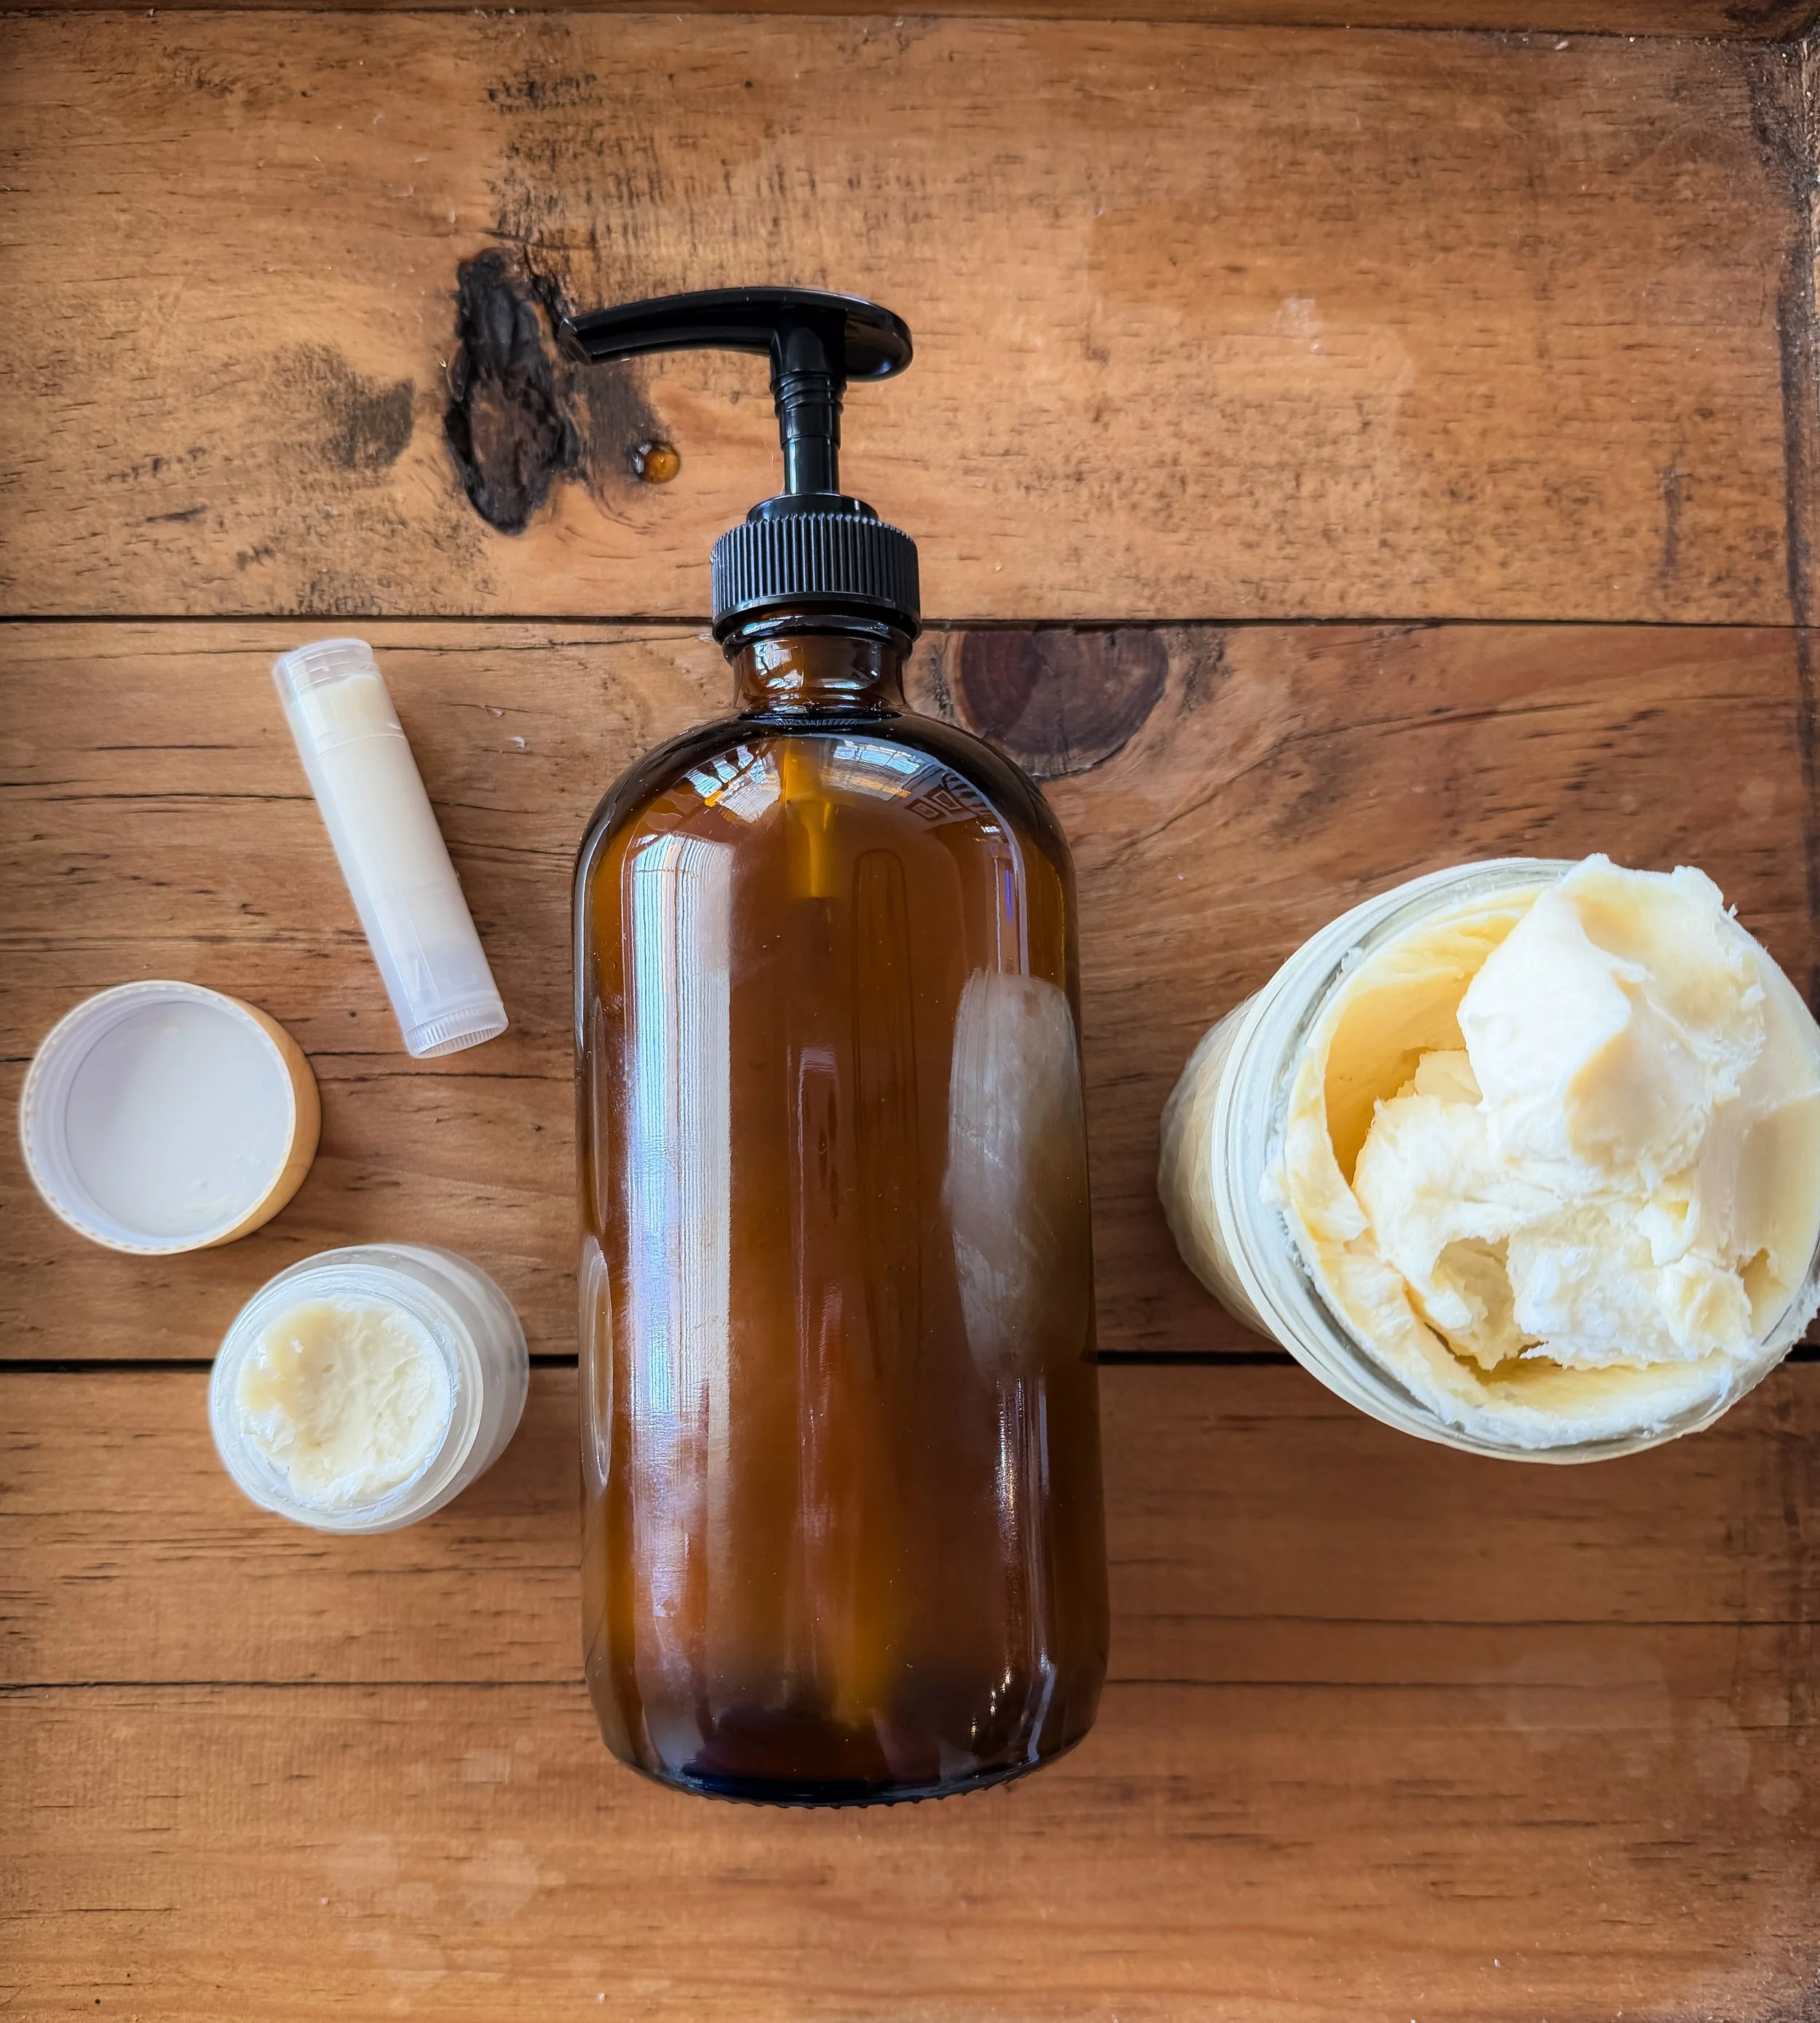
Homemade Skincare
This article may contain affiliate links. If you purchase through an affiliate link, I may earn a small commission, at no extra cost to you. As usual, I never share something I don’t have & love or wouldn’t use myself. I appreciate your support!
I have eczema and in the process of trying to clear that up and get to the root cause, I started making my own skincare. I’ve always cared about low-tox ingredients and trying to be as clean as I can, within reason and with ease. But I could not give up my Jergens lotion. If you know me, I have lotion on me at all times. I can’t stand having dry skin.
But Jess pointed out that it was full of harsh ingredients and fragrance and since I use it so much, I should probably find an alternative. I knew he was right, I just figured it would be difficult and time consuming. But in my research process, I decided if I was going to do that, I should probably also clean up my shower gel and my lip balm. And here we are, haha!
I did a bunch of research, there are a lot of recipes on line. Each time I make these, I try to tweak things I want to improve so these may change in the future but I’m pretty happy with how these are performing. So if you’re looking to clean up your products too, give these a shot!
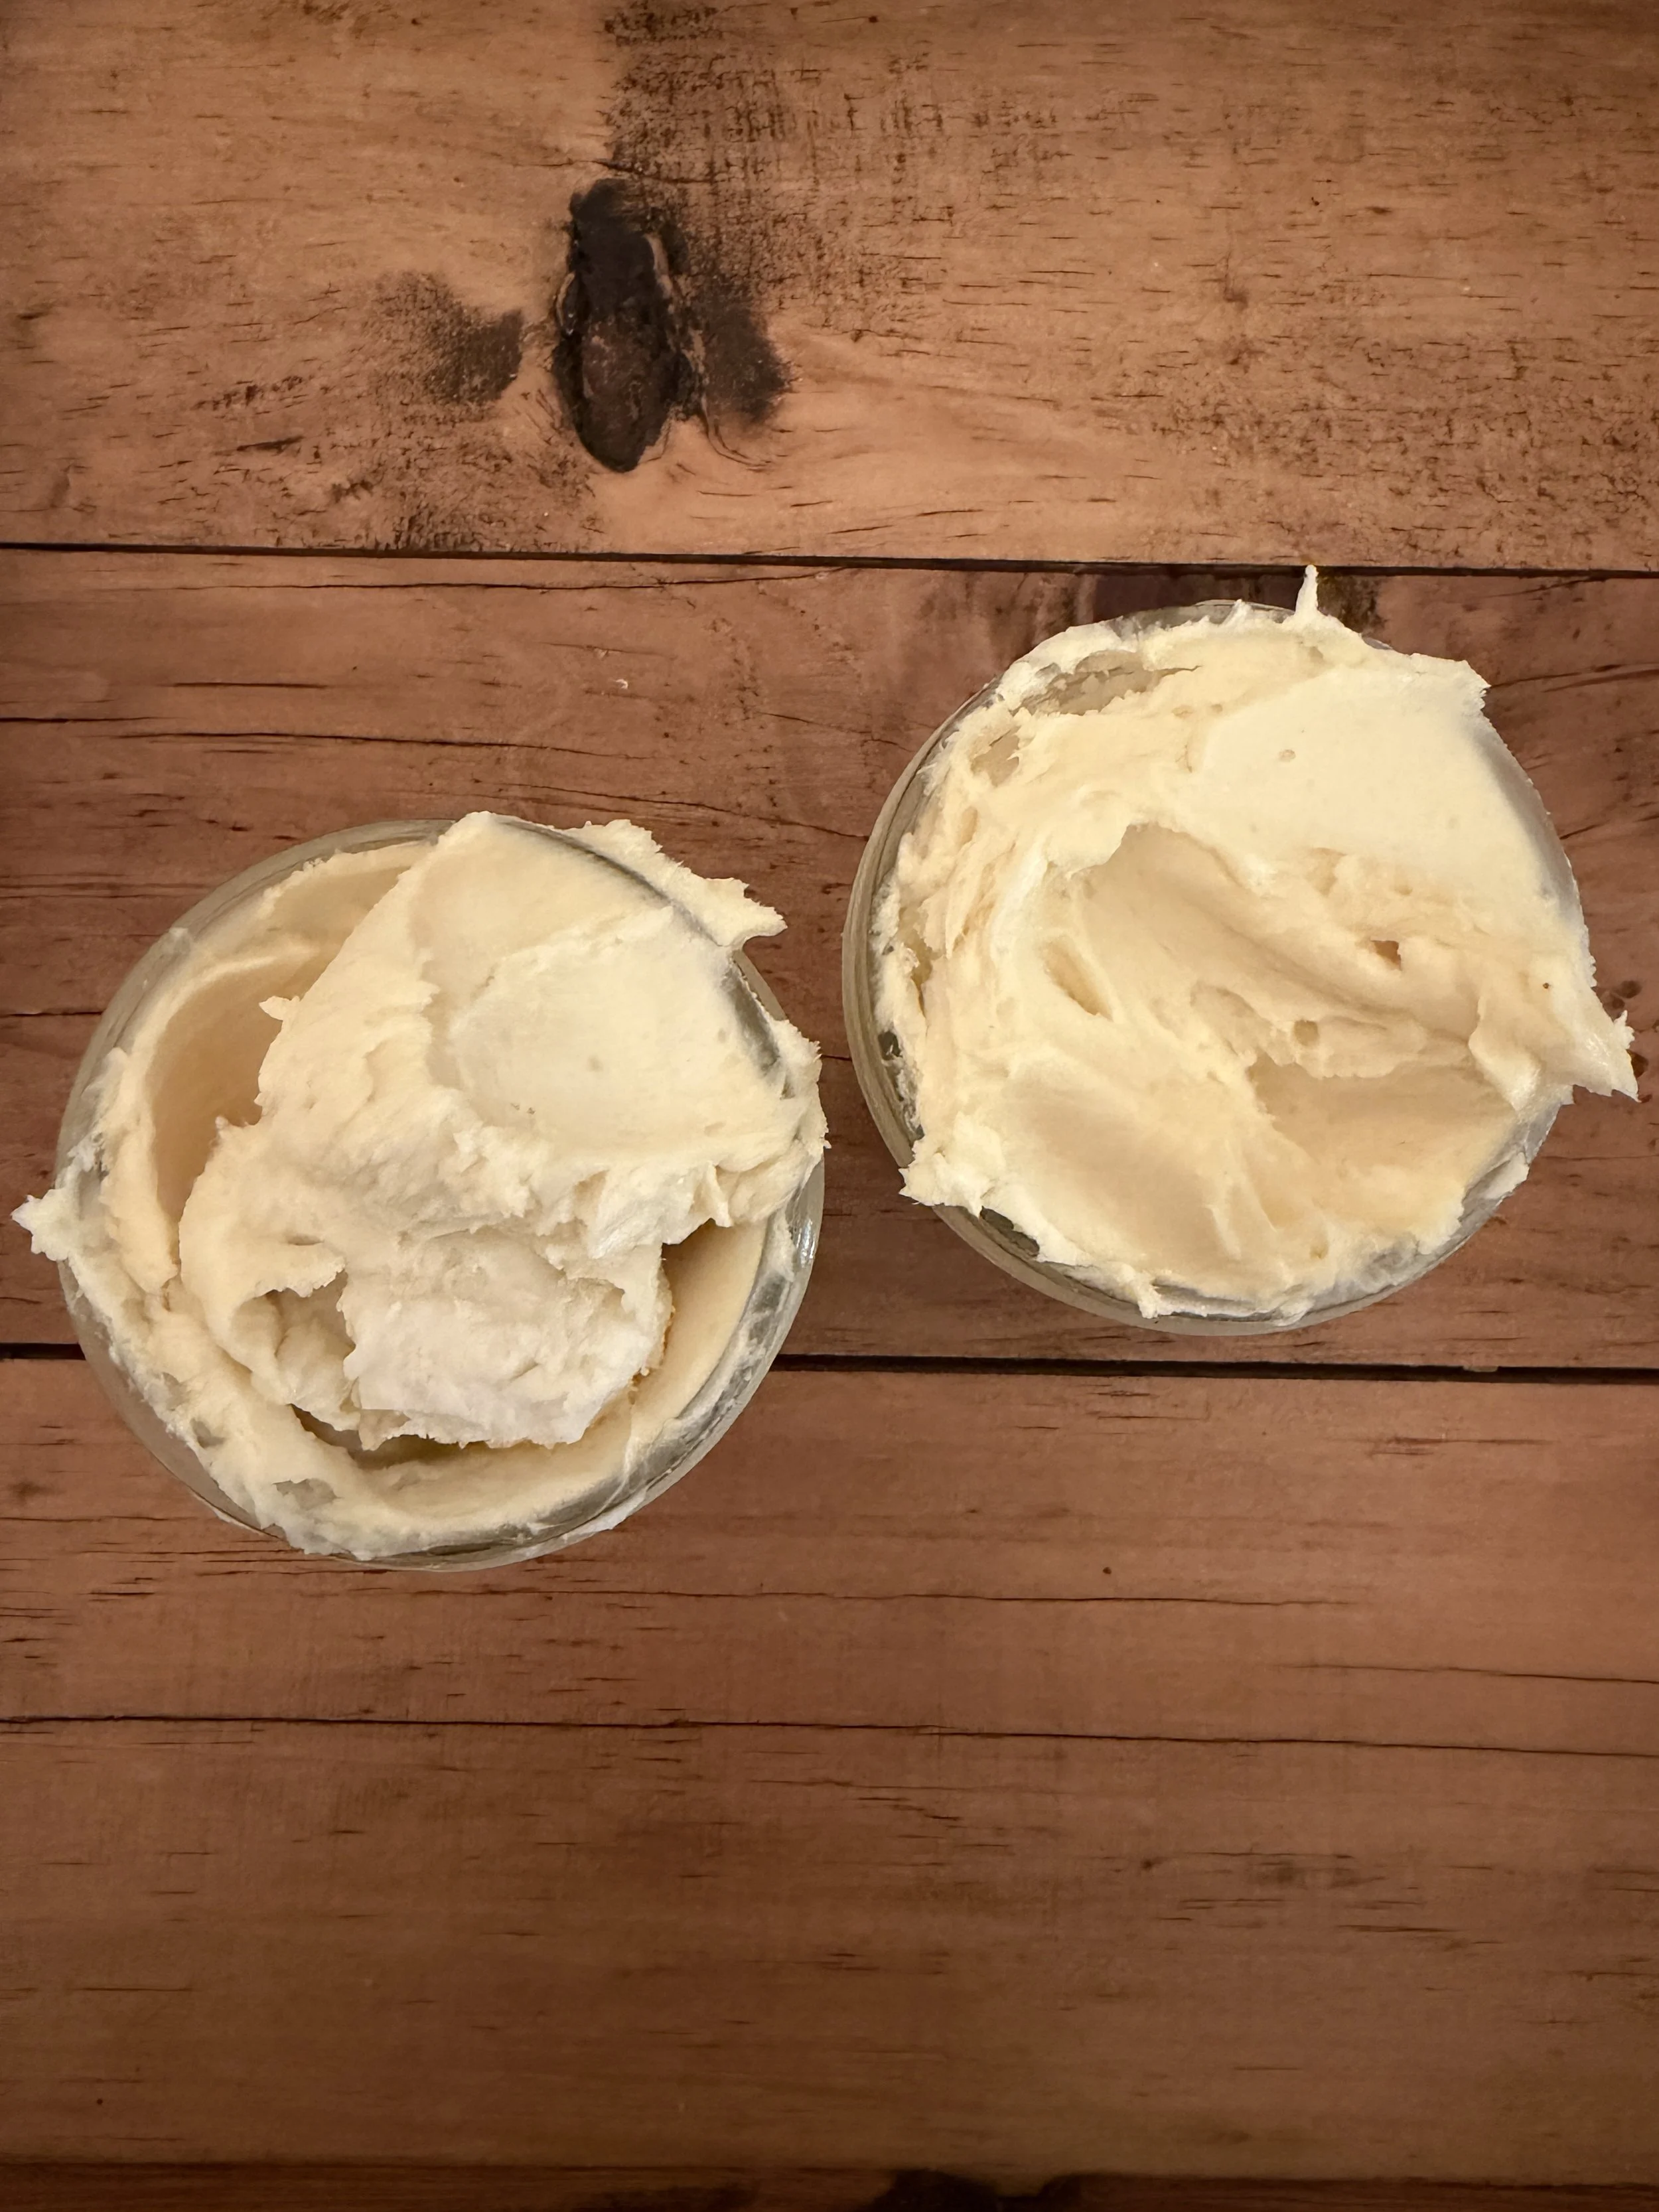
Whipped Body Butter
Ingredient List - use the cleanest ingredients you can. I’ve linked what I use here:
1/2 c Shea Butter
1/2 c Cocoa Butter
1/4 c Coconut Oil
1/4 c Castor Oil
1 T Sweet Almond Oil (optional)
3-4 drops Vitamin E Oil (optional)
15-30 drops of Essential Oil of Choice (optional)
2 t Arrow Root Powder (optional - if you don’t like the greasy feeling, this reduces that. I don’t like the chalky feeling this gives though so I skip it)
Directions:
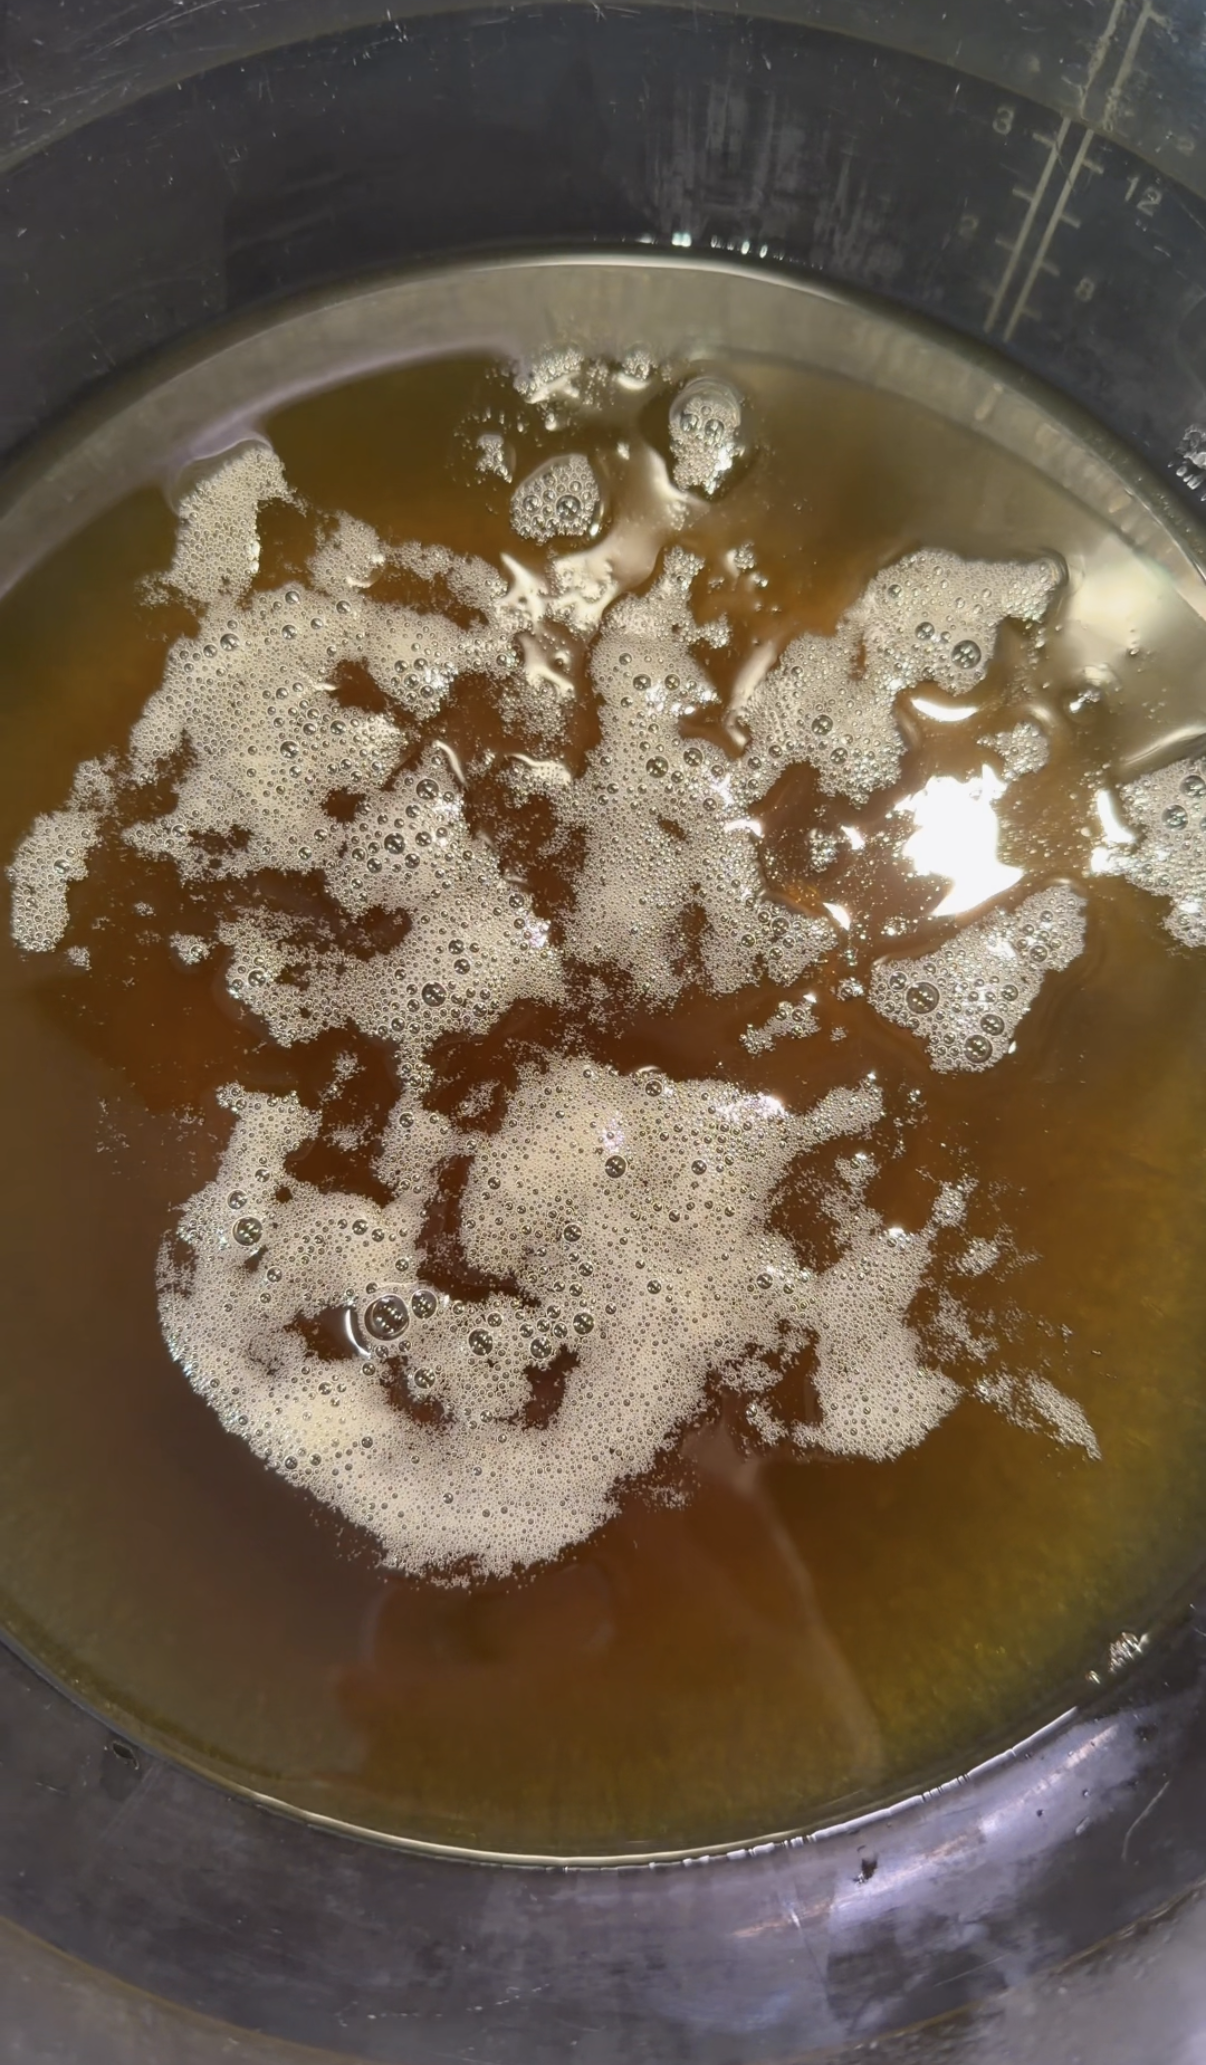
Heat a pot of water to a gentle boil and then turn down to a simmer. Set a glass bowl on top (this acts like a double boiler to gently melt the first three ingredients). Add the shea butter, cocoa butter and coconut oil and let melt. Remove from heat, stir in the castor oil, sweet almond oil, Vitamin E oil and essential oils. Stir in the arrow root powder if you’re using it. I used it the first time but it gave it a bit of a chalky feel and I didn’t like it but some people don’t like the greasiness of the body butter so they prefer to use the arrow root.
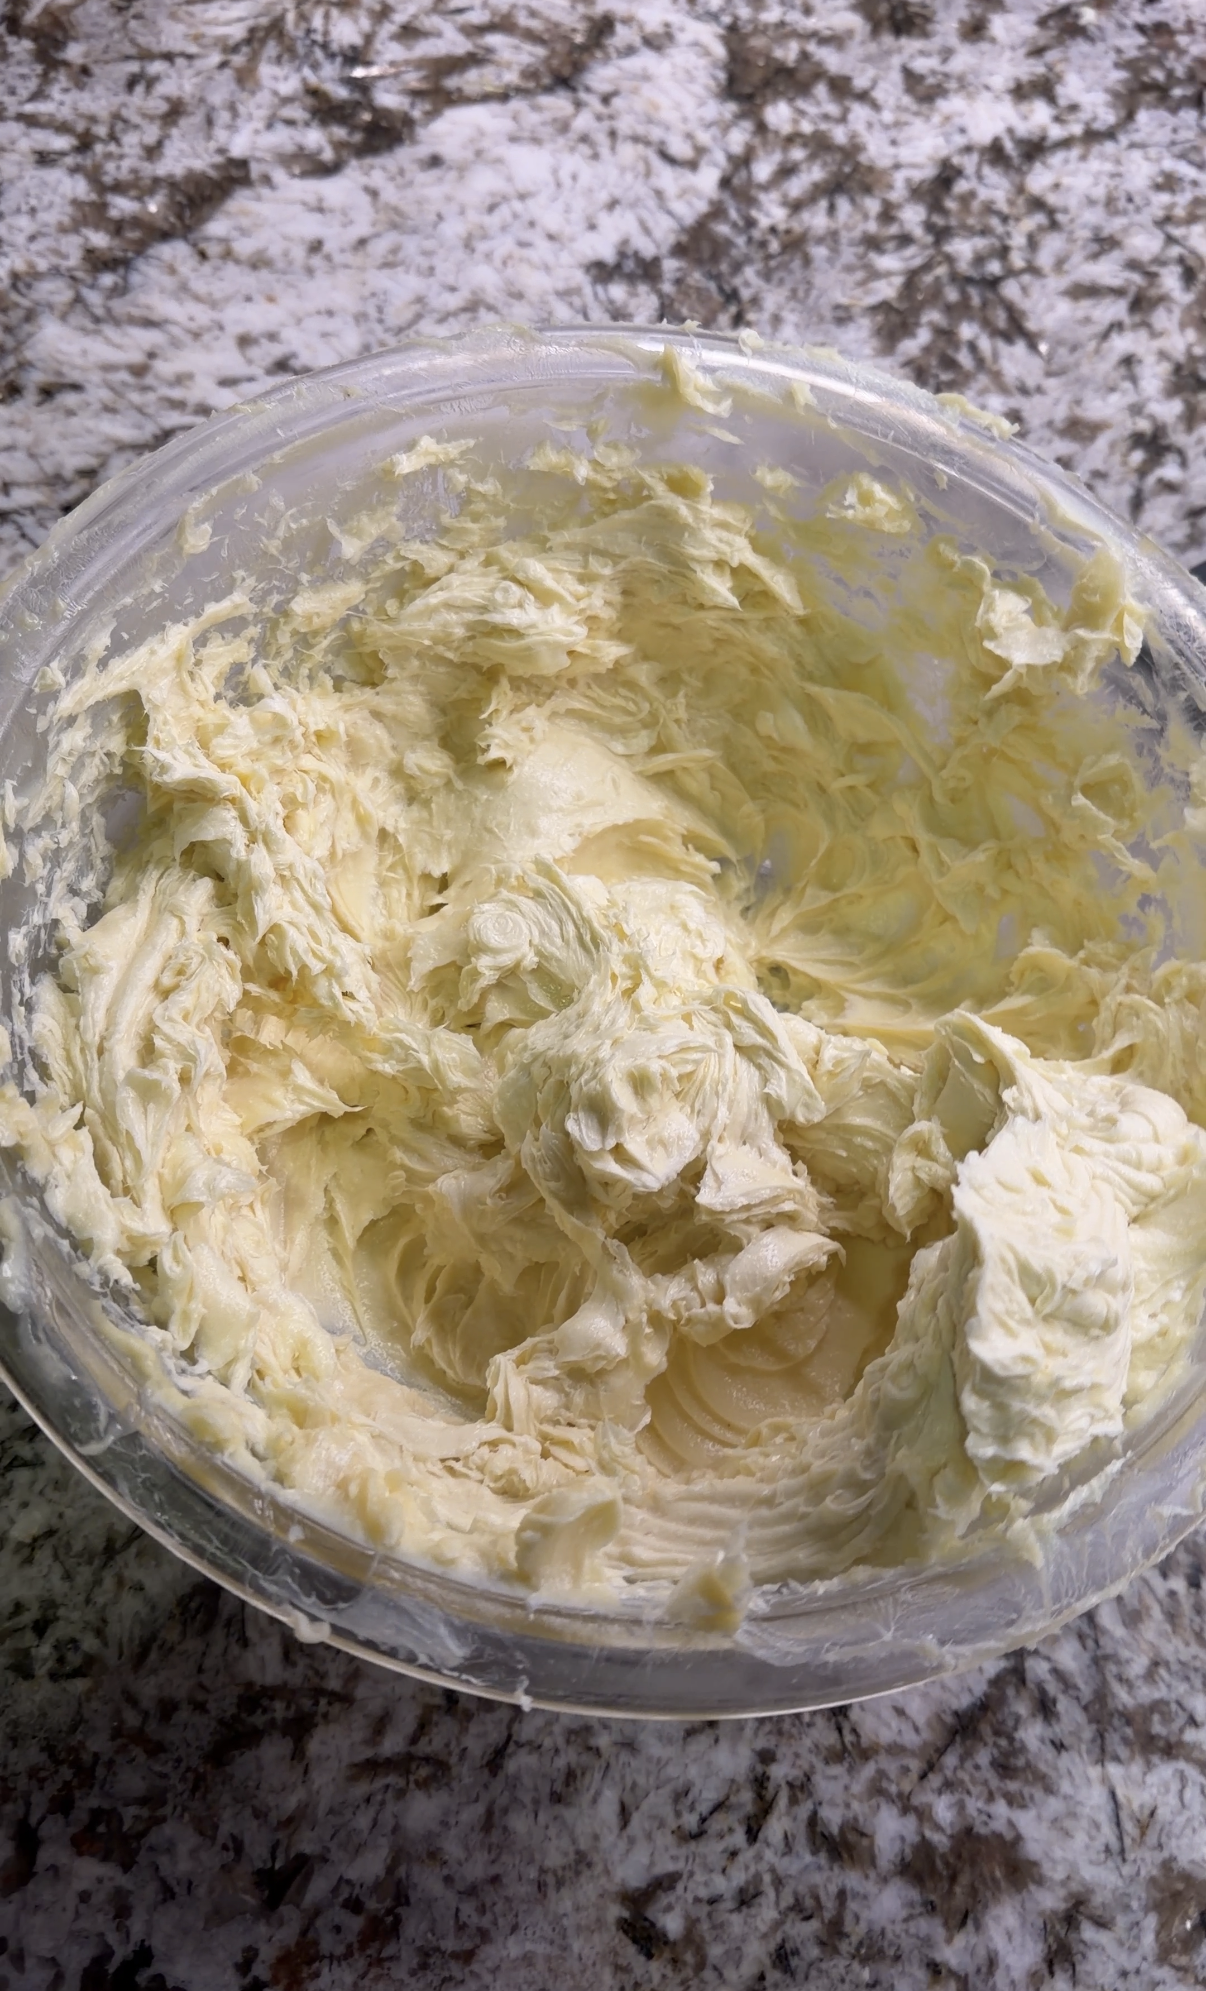
Put this into the refrigerator. You want this to solidify, but if it gets too hard, you won’t be able to mix it. If it doesn’t solidify enough, it won’t whip up either. So I set a timer for 15-20 minutes to go stir it and do this until it’s a semi-solid consistency. Then whip it with a hand or stand mixer until it’s light and fluffy.
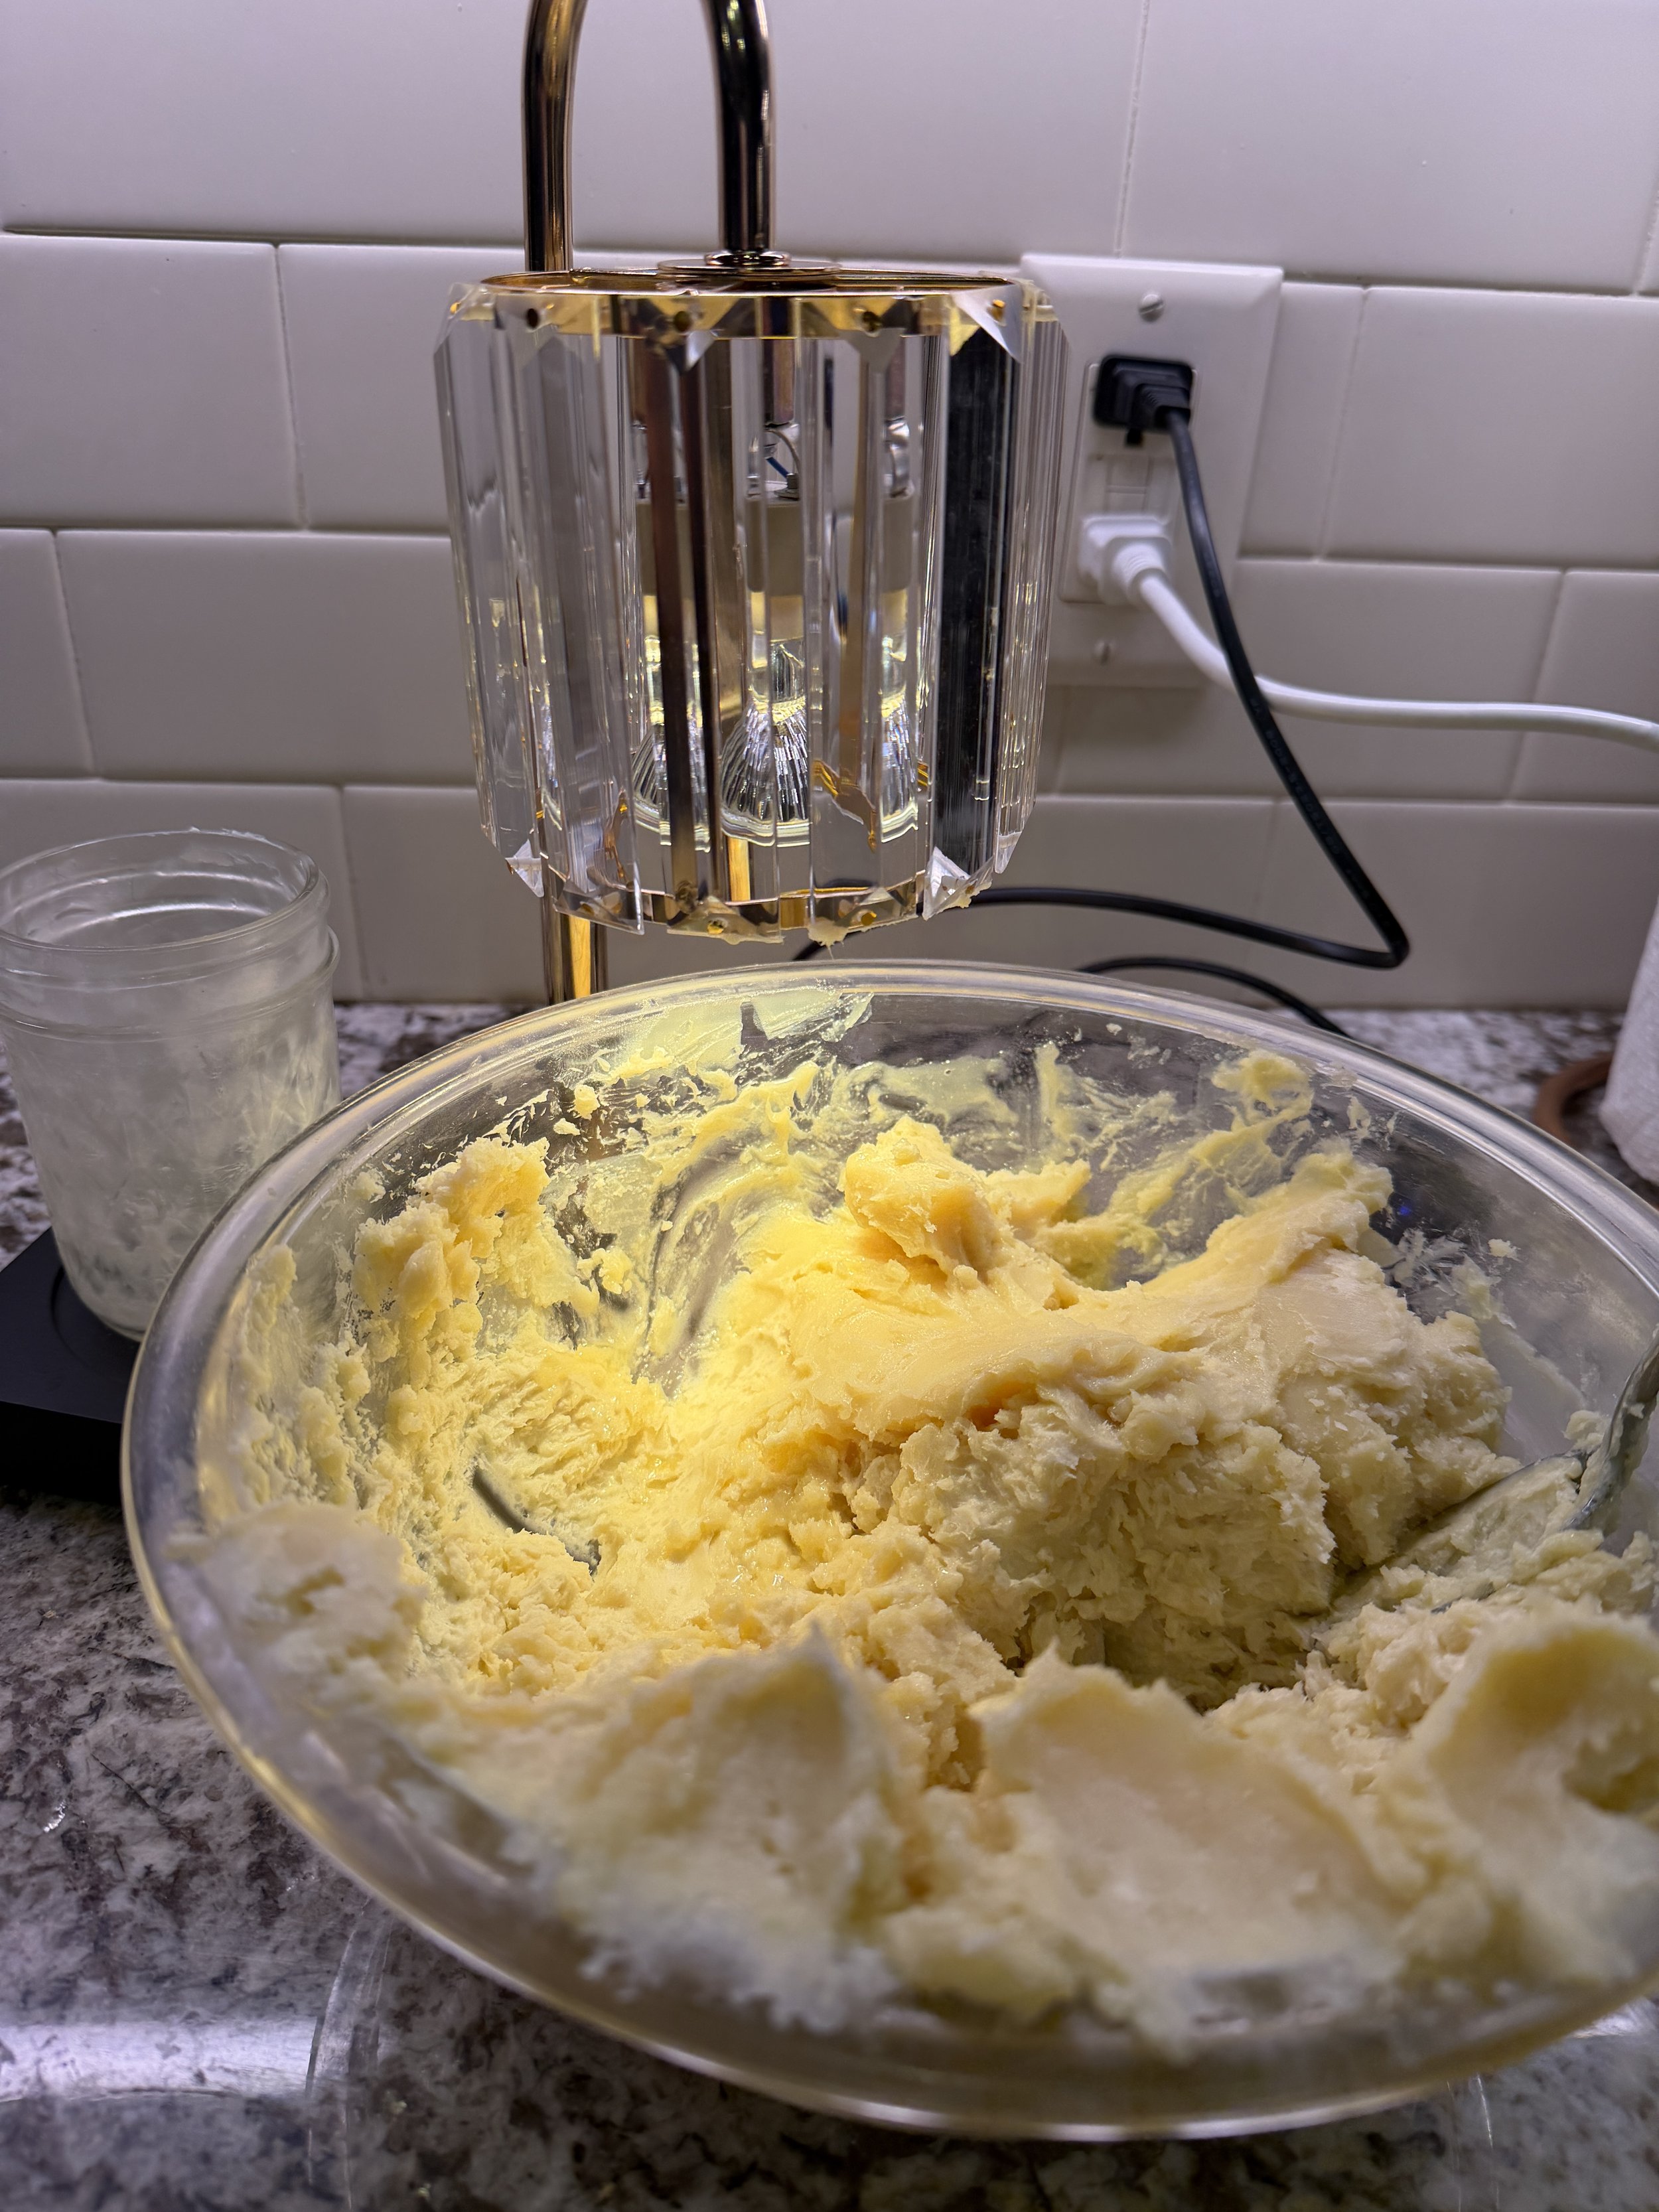
The first time I made this, it got too hard so I had to melt it and do it again. The last time, it also got too hard but I used a heat lamp to slowly soften it and then mixed it and that was my favorite consistency yet.
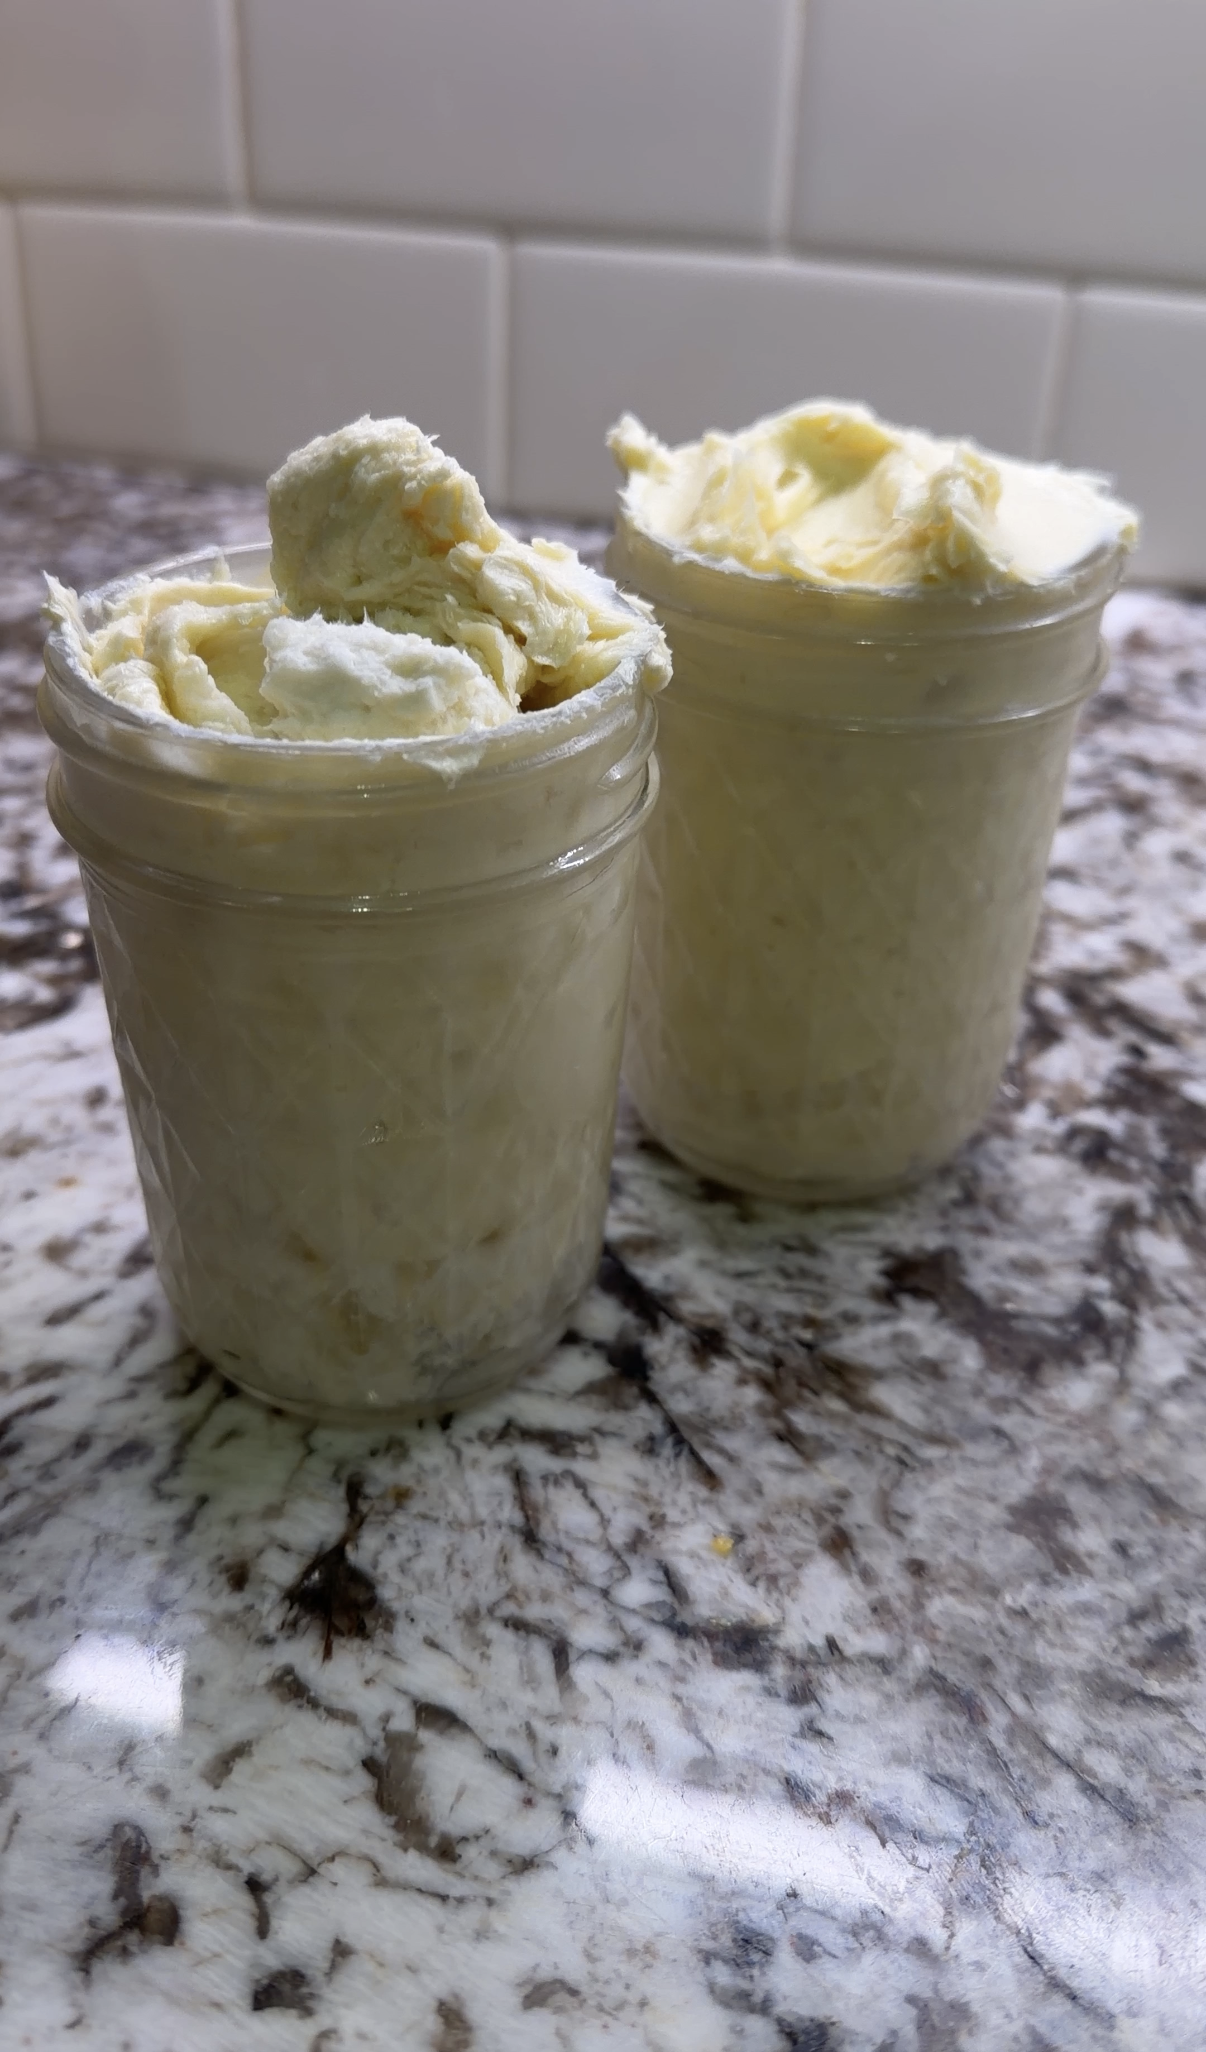
Once whipped, place it in containers and keep at room temperature. Note: it will remelt if it gets hot. I use 8oz jelly jars to put it in and they work great. I also put some in the small glass jars I use for the lip balm so that I can throw them in my purse, truck and travel bag.
What are the benefits of this homemade whipped body butter?
Shea Butter - provides deep hydration, locks in moisture, has Vitamins A, E & F, reduces inflammation, helps scars fade, anti-aging properties that promote collagen production and protect skin from environmental stress.
Cocoa Butter - provides deep hydration and barrier repair, enhances skin elasticity, helps scars and stretchmarks fade, anti-inflammatory to help sooth skin irritations, nutrient rich and helps block and fight environmental stress.
Coconut Oil - provides deep hydration, locks in moisture, reduces inflammation, promotes wound healing, helps with the lighter texture of the body butter and gives your skin a glow.
Castor Oil - adds intense hydration, locks in moisture, reduces rough spots while also protecting them, high in ricinoleic acid to sooth skin conditions and reduce inflammation, improves skin elasticity and gives the whipped body butter a nice texture.
Sweet Almond Oil - provides deep hydration and superior skin softening, rich in Vitamin E, provides quicker absorption, helps rebuild and strengthen the skin barrier, ideal for sensitive skin and soothes skin conditions, promotes skin elasticity and younger looking skin.
Vitamin E Oil - it’s a powerful antioxidant that provides deep moisture, reduces inflammation, has anti-aging properties, and protects skin from environmental damage. It’s also a preservative that keeps the oils and butters from going rancid and increasing shelf-life.
As you can see, the theme here is deep hydration and moisture, skin soothing and healing, barrier repair and strengthening, anti-inflammatory, anti-aging and vitamin-rich. I couldn’t say the same for what I was using before. I hope you give this Whipped Body Butter a try and let me know what you think!
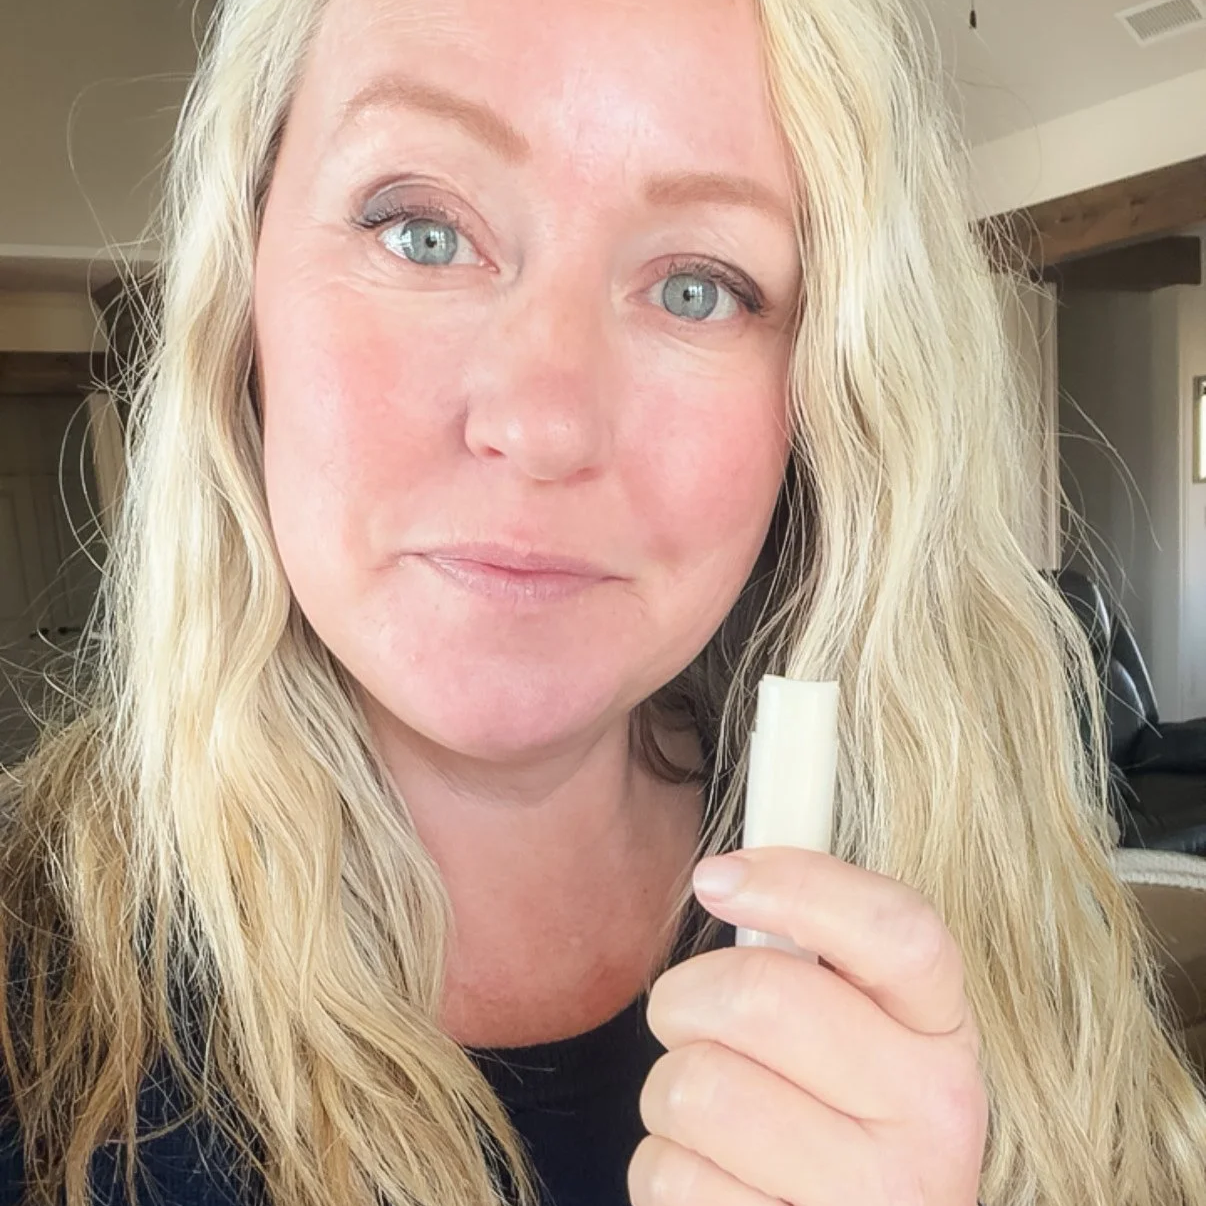
Lip Balm
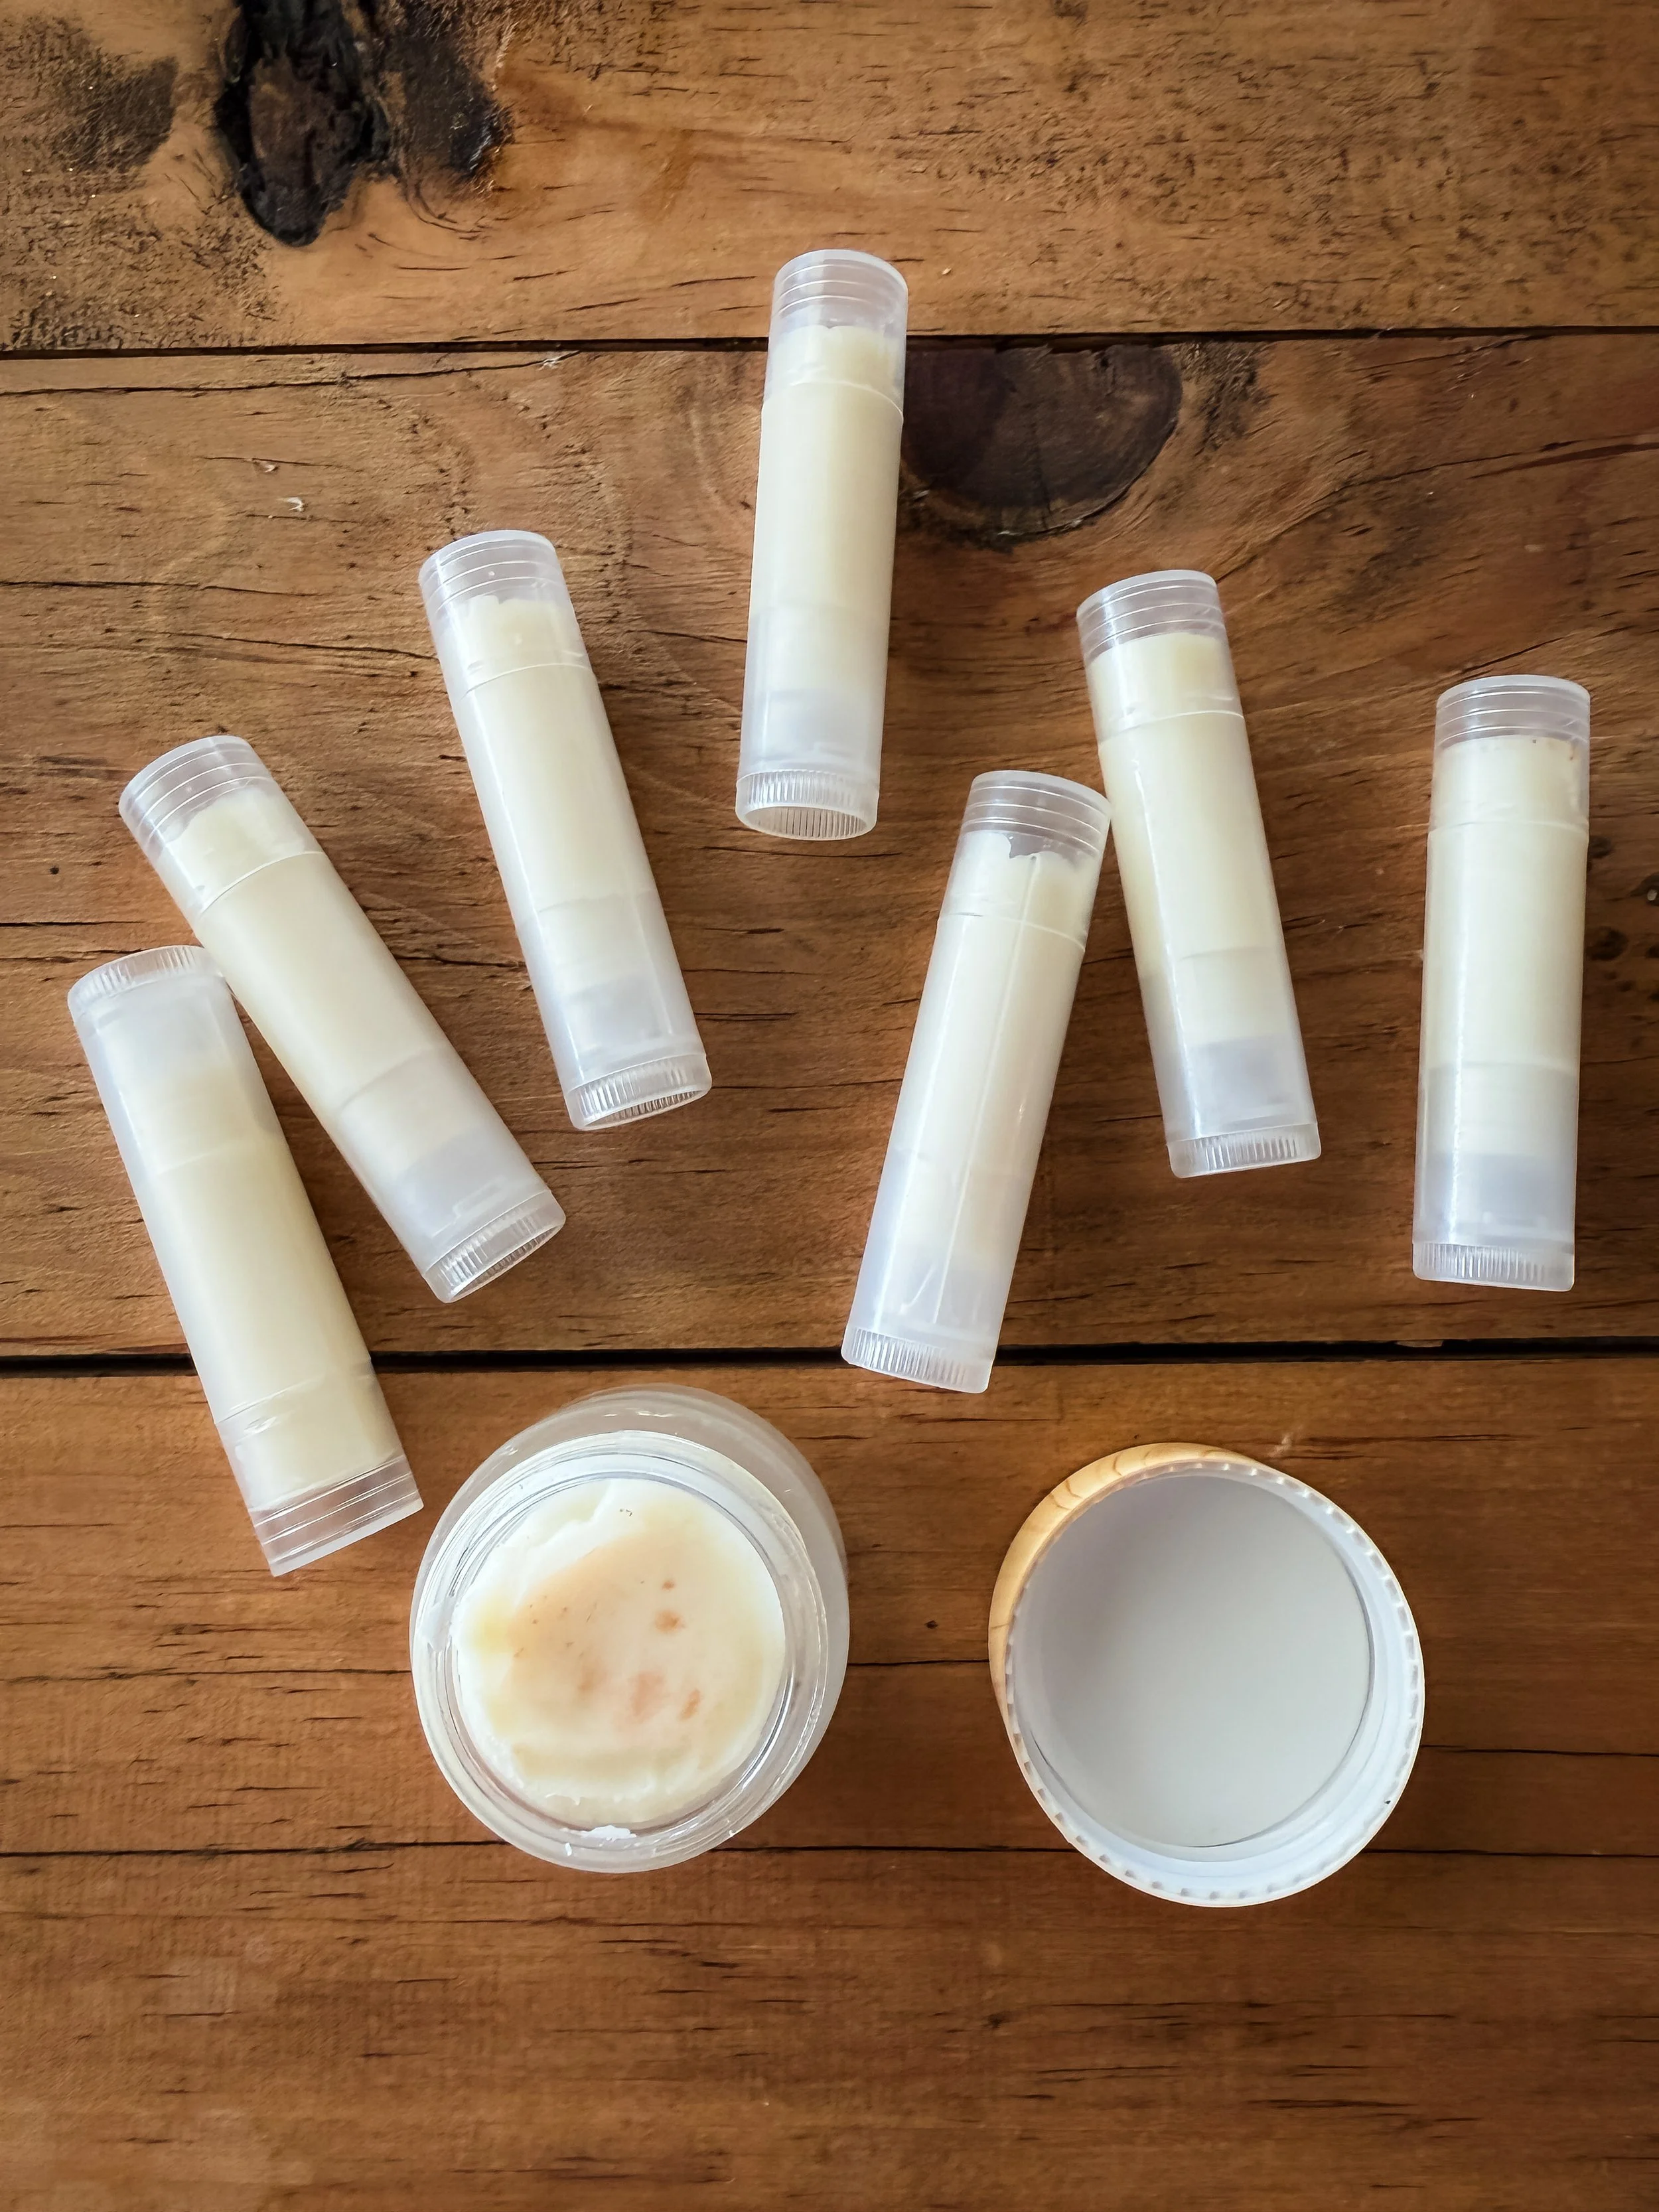
I’m a lip balm addict and this one is so easy! I’ve tried a few recipes and this is the one I like most. It’s smooth and silky. I put it in tubes and in pots. I even use it on my eczema before I put the body butter on to really seal in moisture. This one is super easy and quick to make.
Ingredient List:
1 T Coconut Oil
1 T Shea Butter
1 T Beeswax
1/4 t Sweet Almond Oil
1-2 drops Vitamin E Oil
Directions:
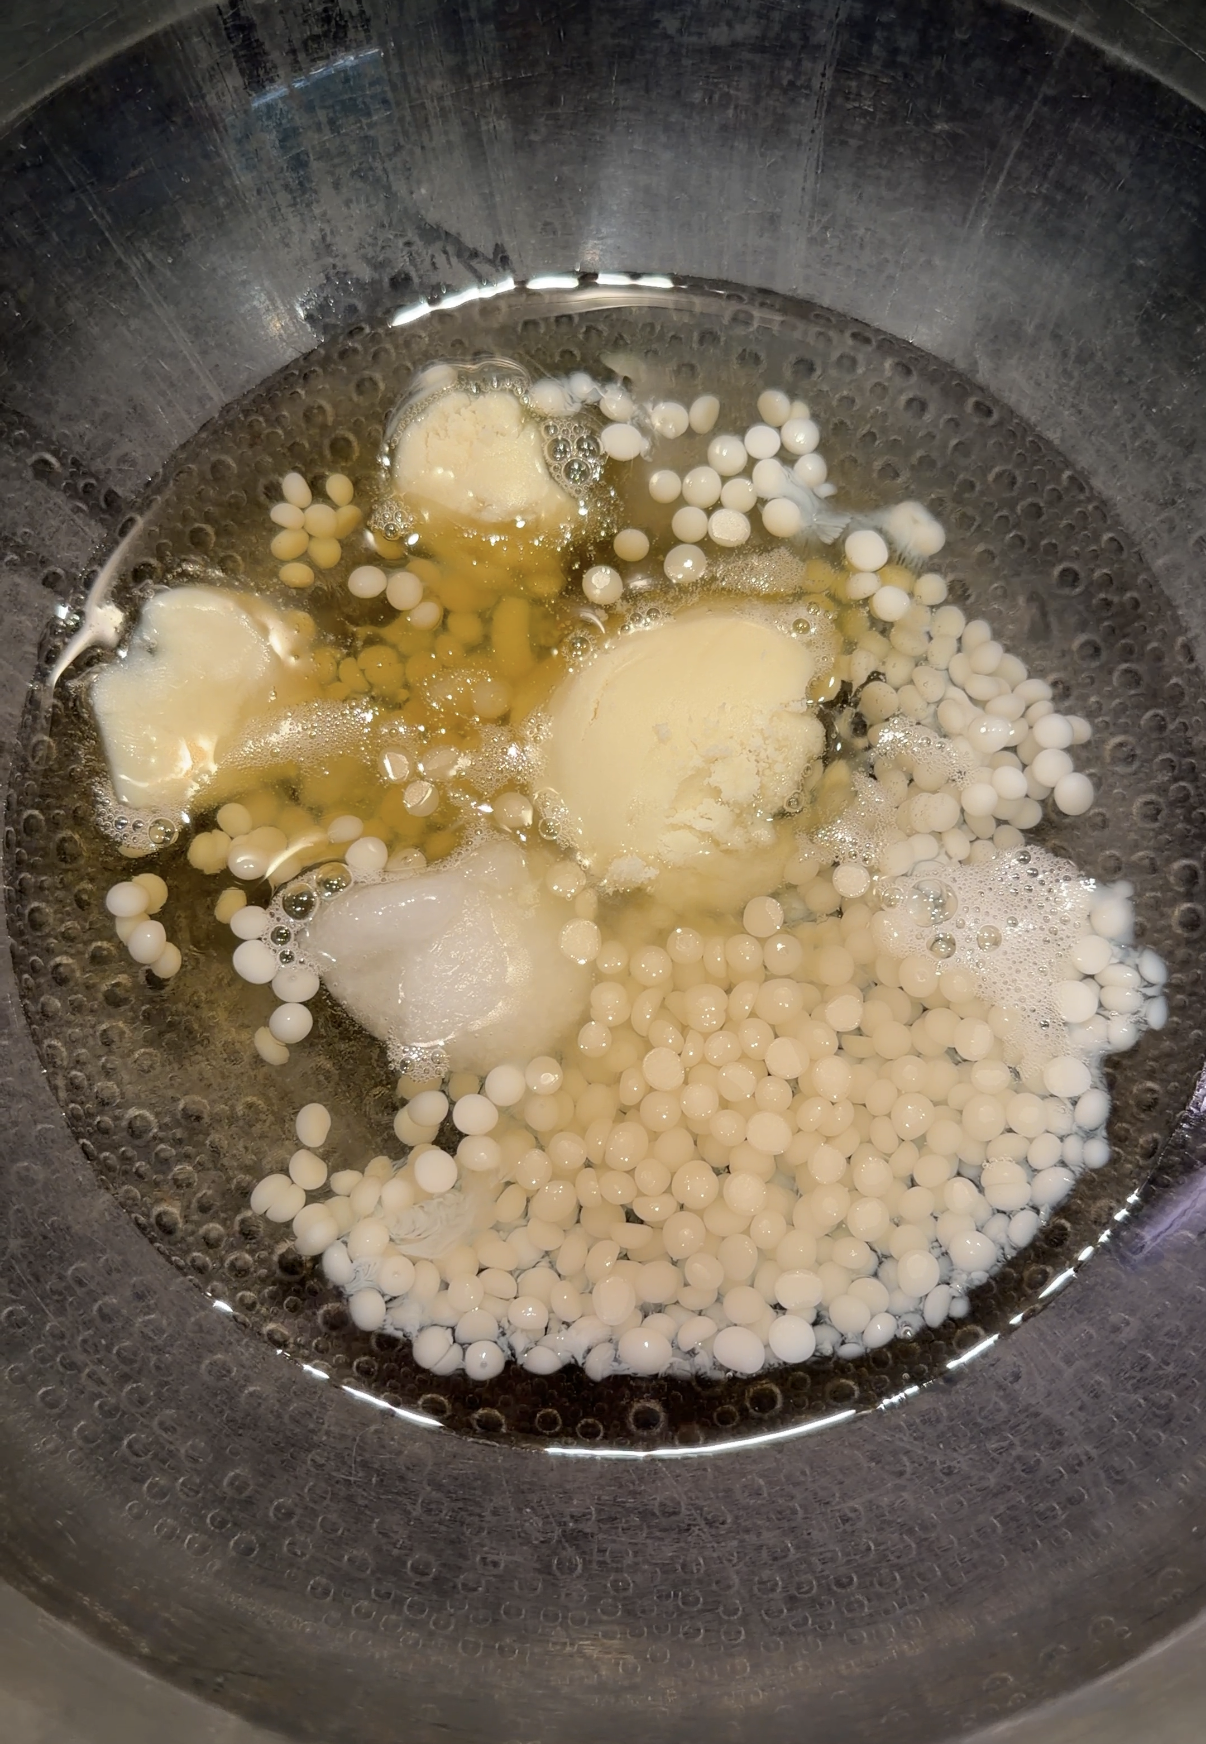
Heat a pot of water to a gentle boil and then turn down to a simmer. Set a glass measuring cup on top (this acts like a double boiler to gently melt the first three ingredients). Add the coconut oil, shea butter and beeswax and let melt. Remove from heat, stir in the vanilla extract, sweet almond oil and Vitamin E oil.
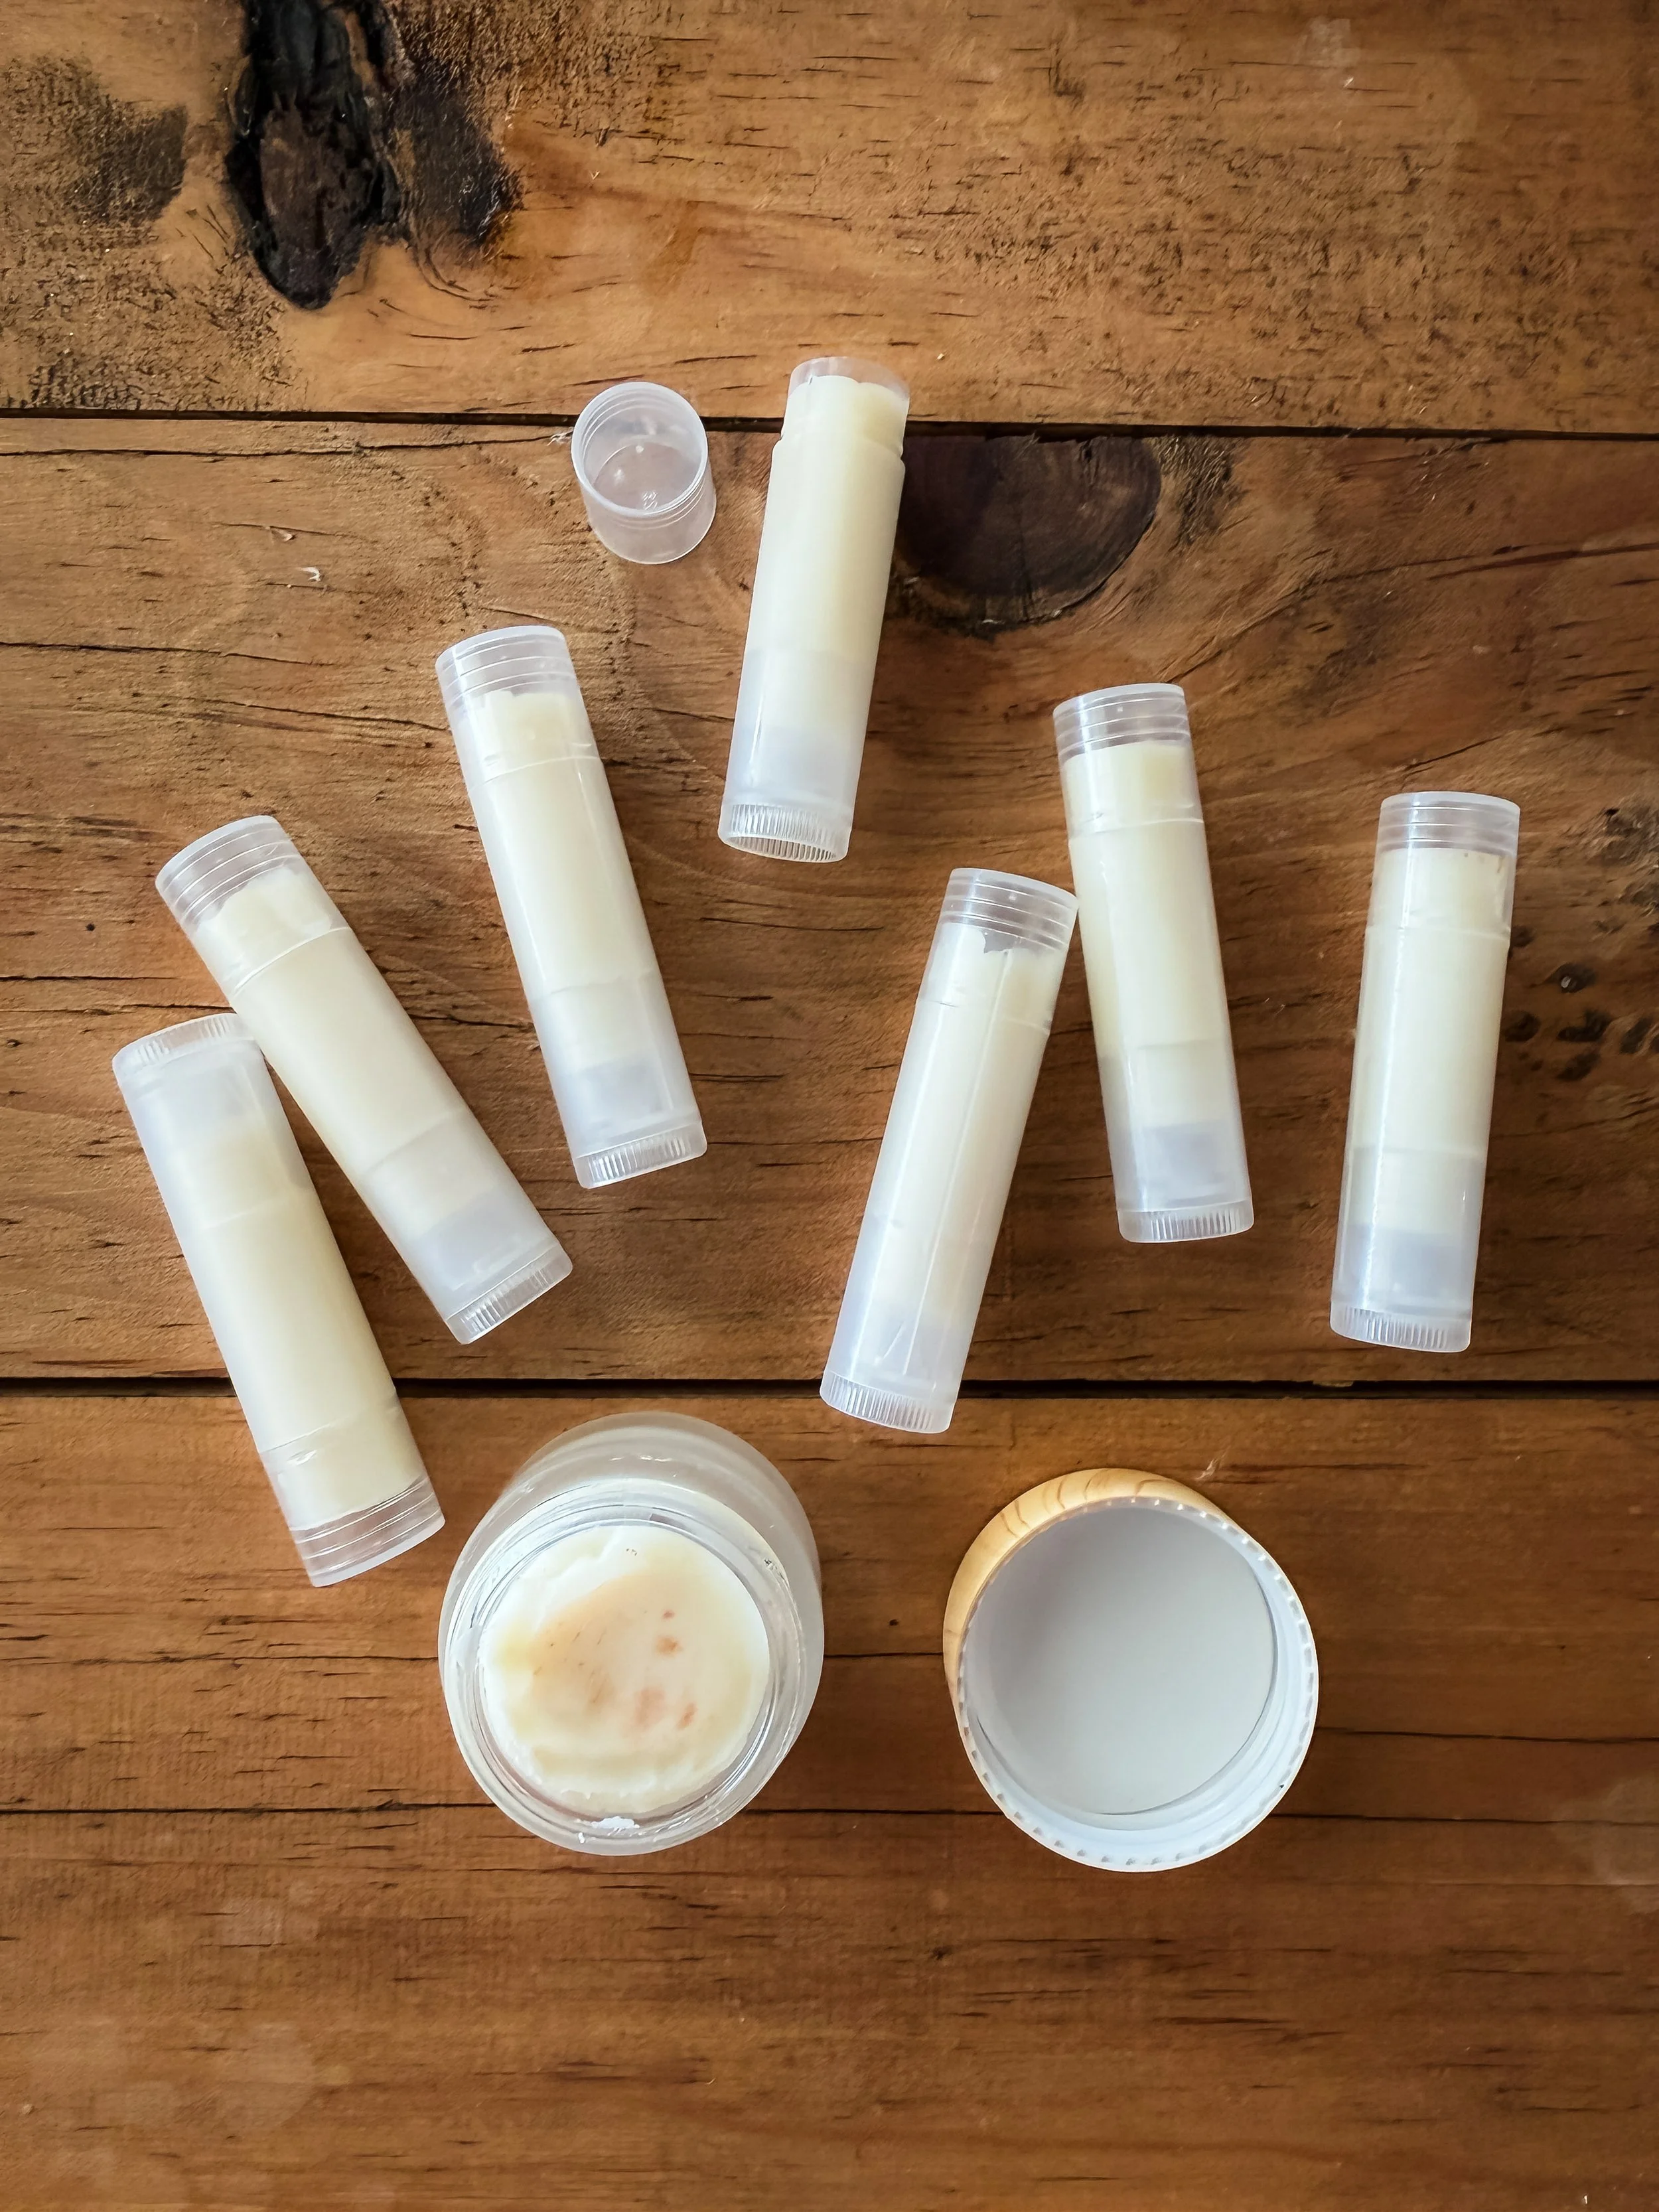
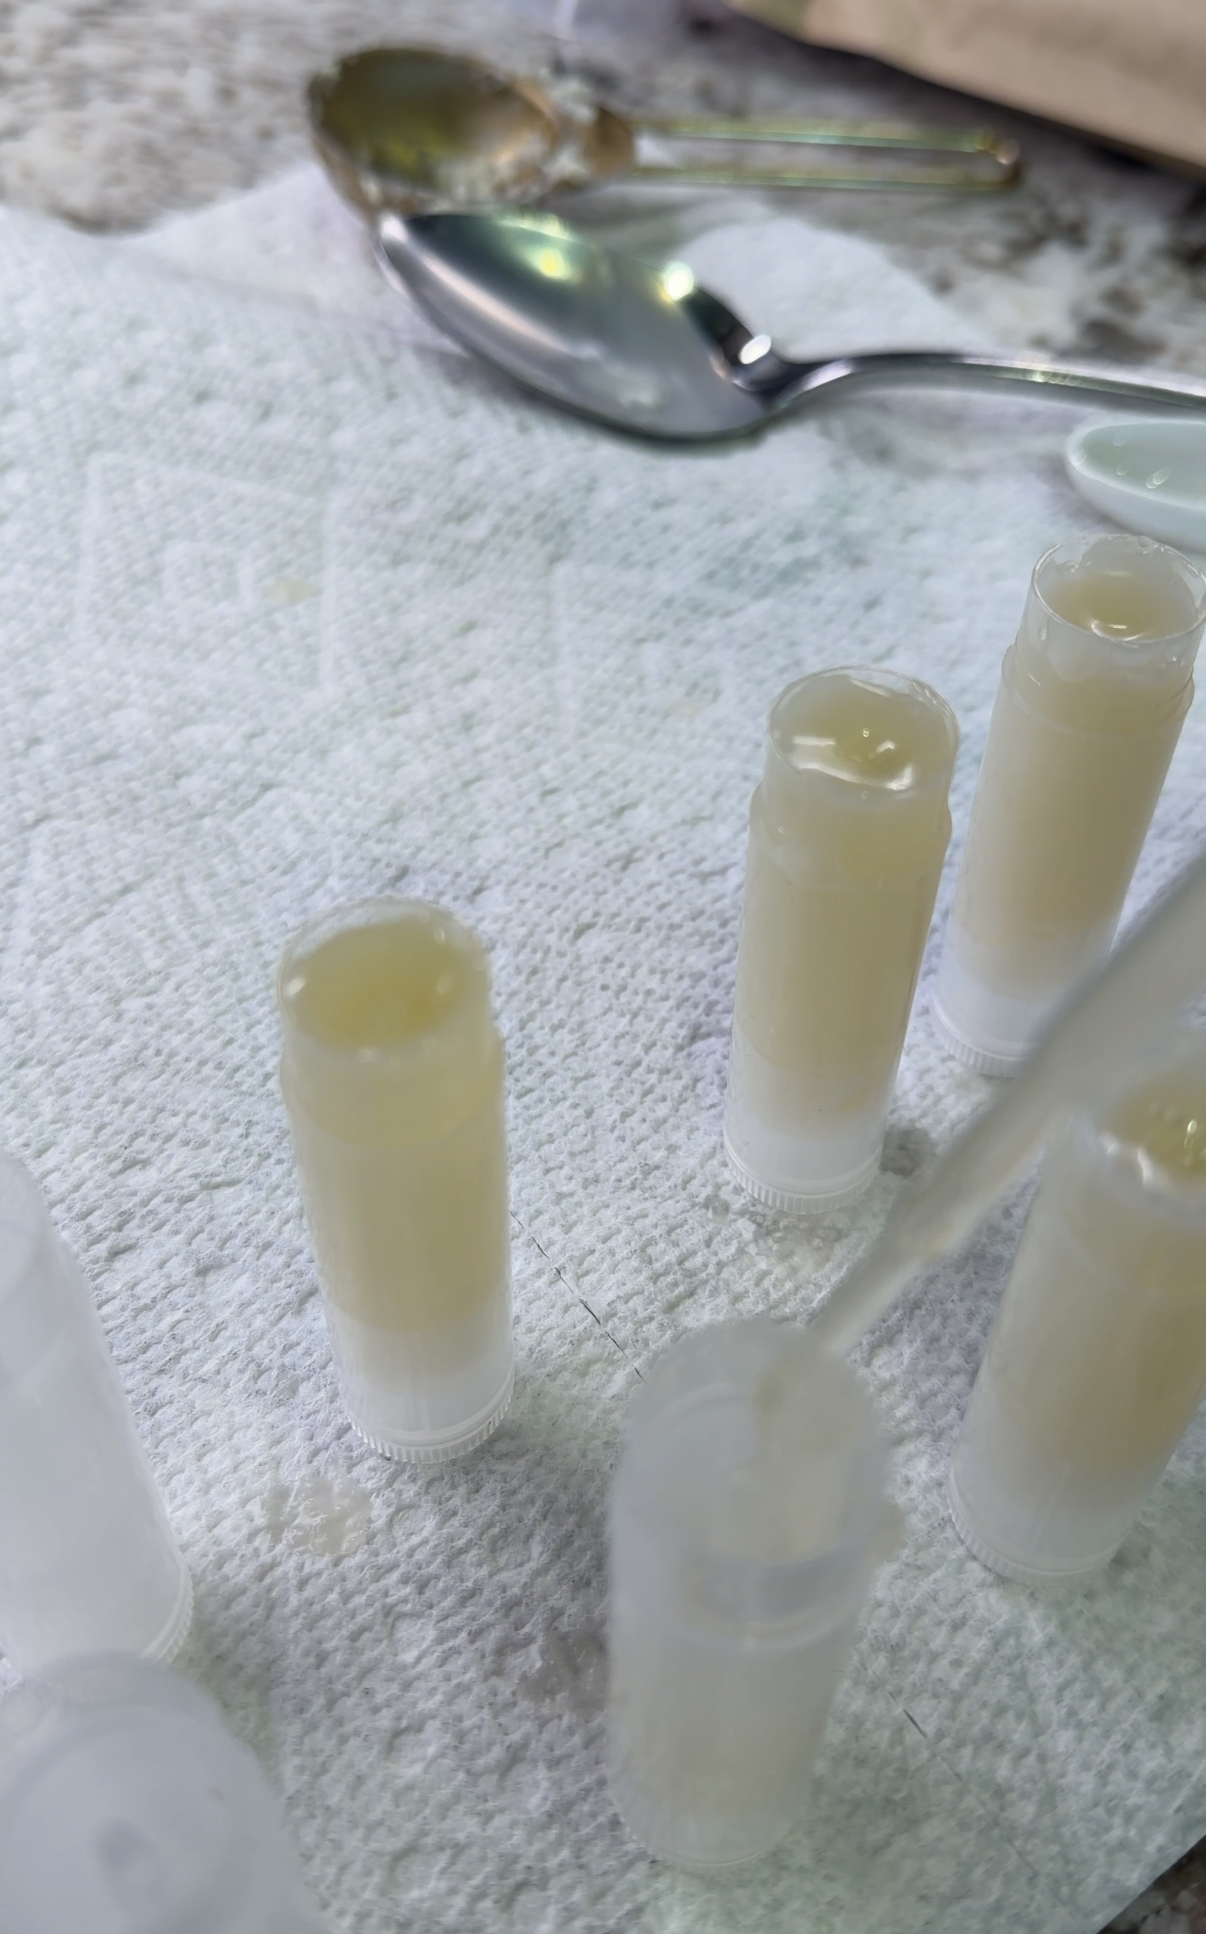
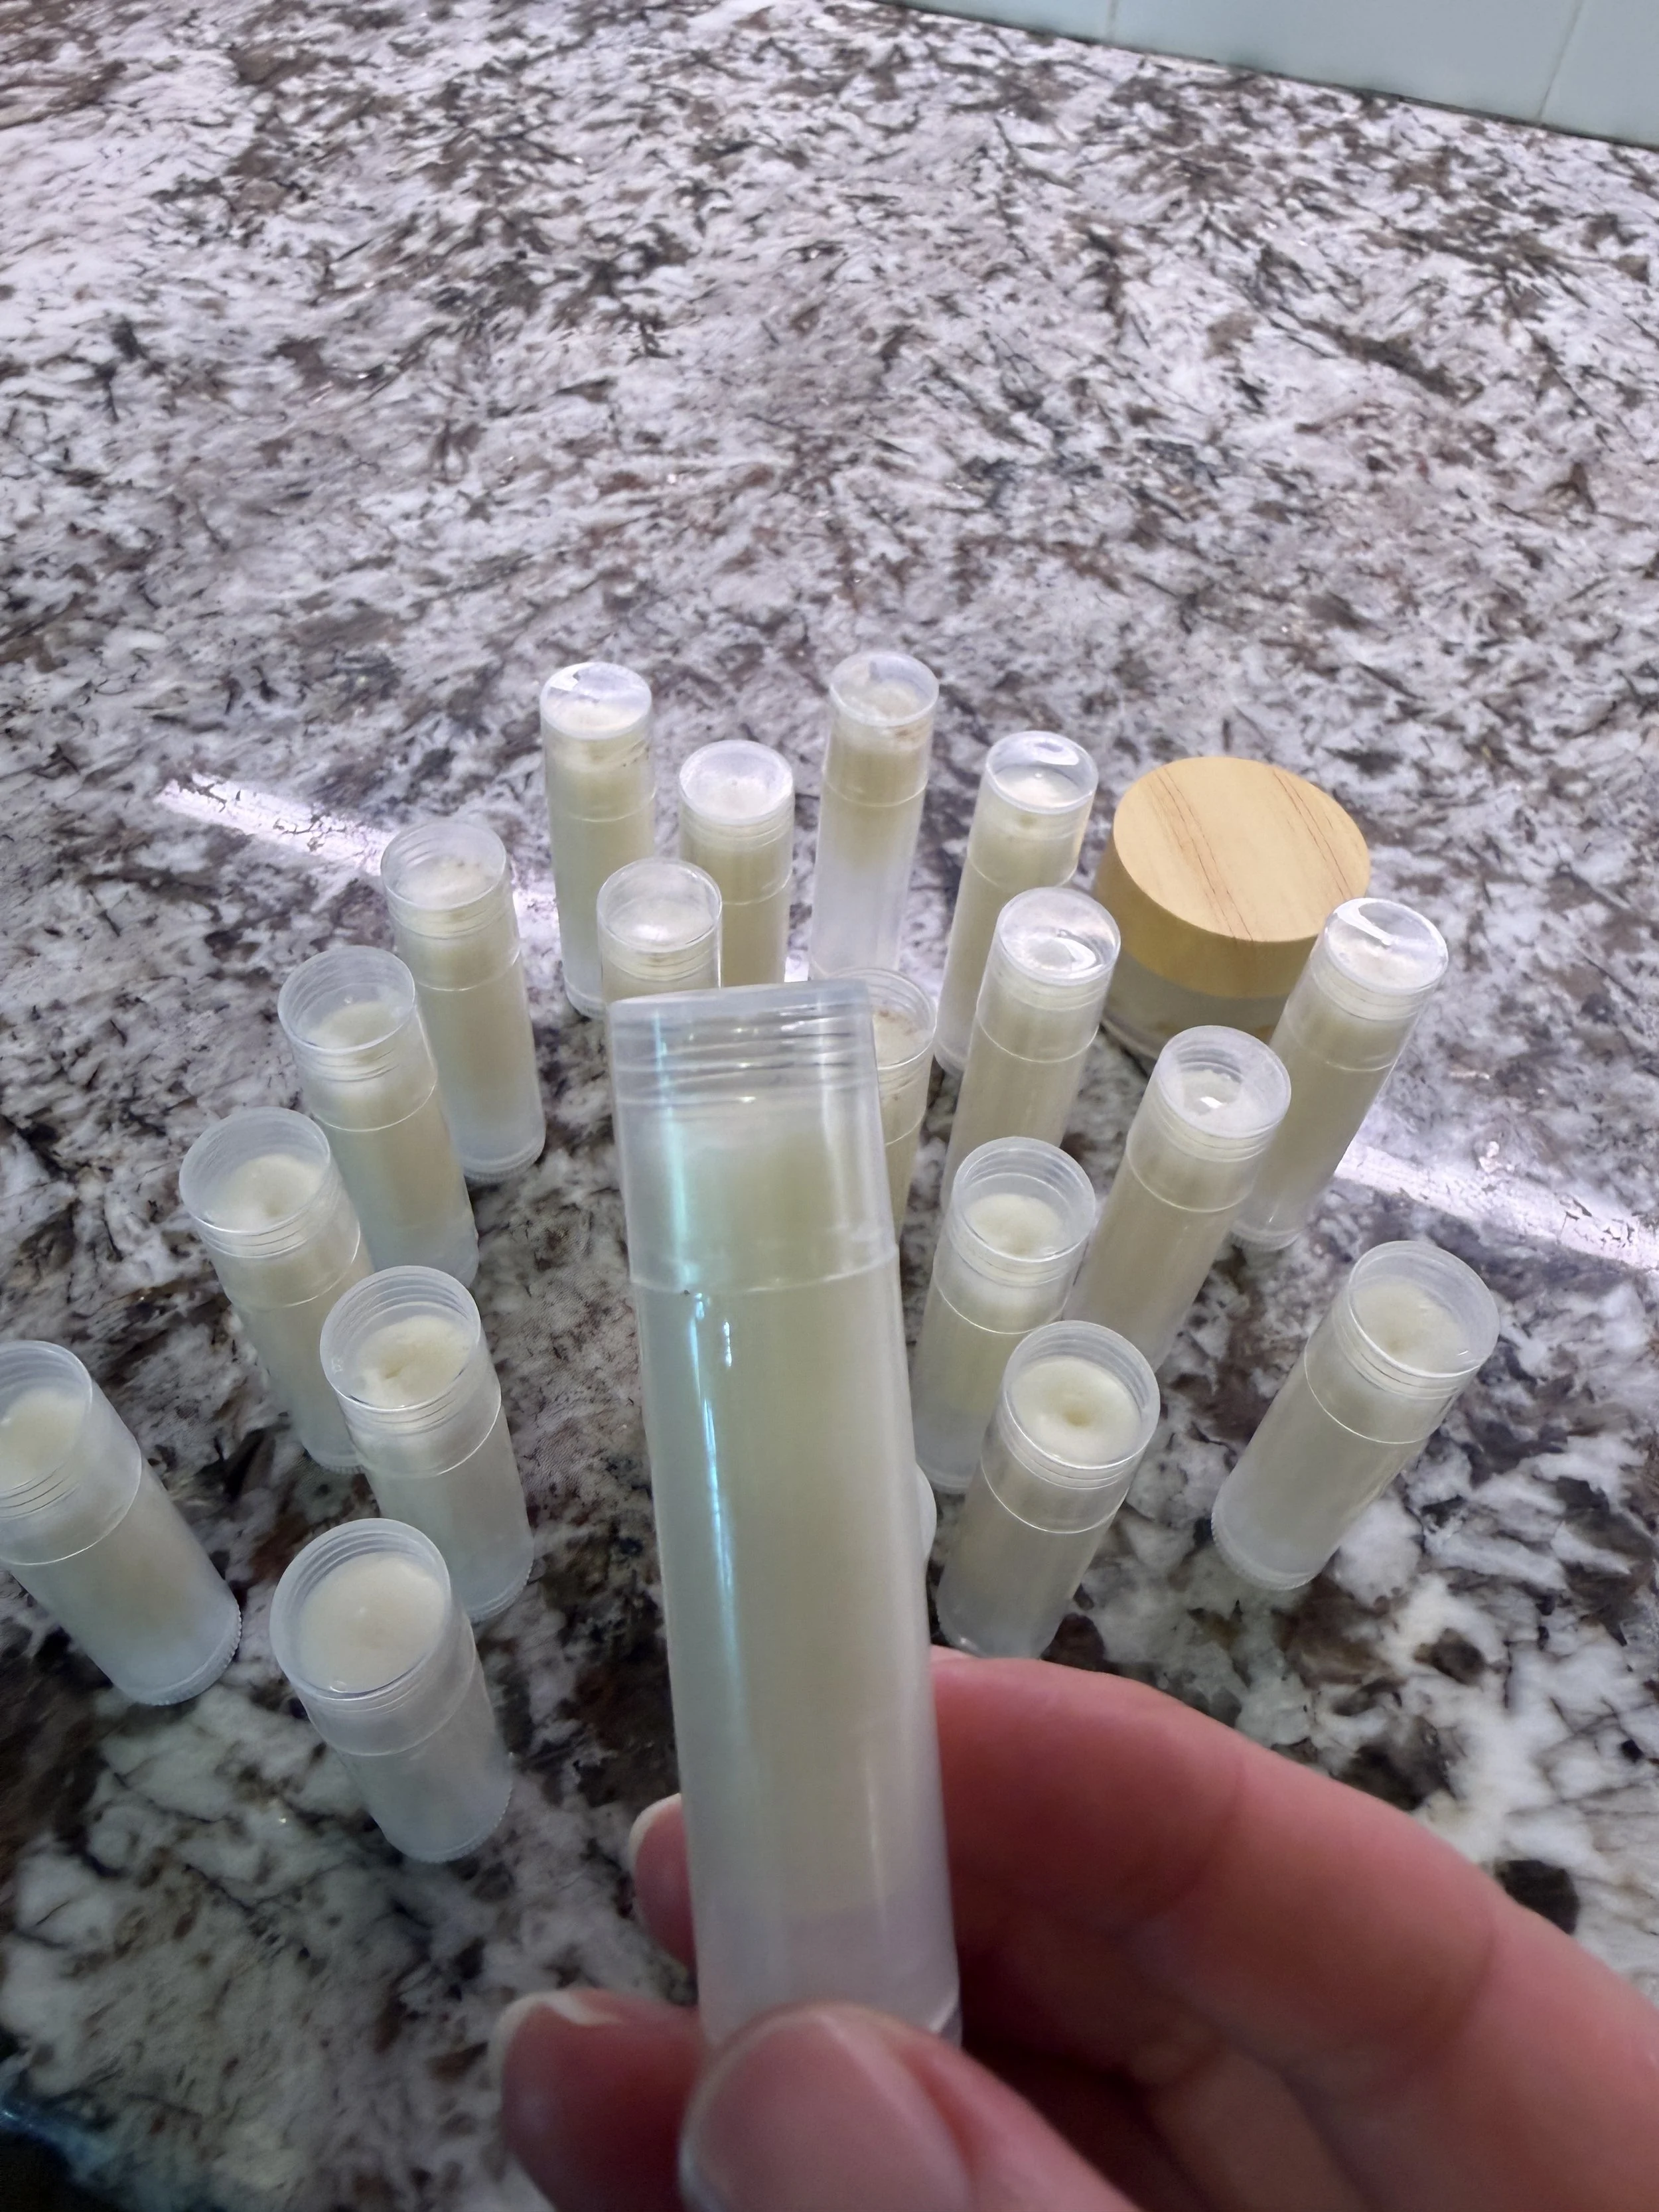
Work quickly because the beeswax makes it harden fast. Pour it into the tubes or jars. I tried to use little pipettes and a tiny funnel but once the hot mixture touches the cold plastic, it hardens pretty fast. Your best bet is to use a glass measuring cup or something with a spout to melt it in and then just pour it directly into the tubes. If you need to set it on the warm water to remelt it, you can do that as many times as you need to.
I mostly use the tubes but the jars are handy too - I like to use those for when I put the balm on my eczema. I would make one batch this size - it’ll make maybe 5-6 tubes. If you like the recipe as-is, then you can double or triple it the next time you make it.
Honey Shower Gel
Wait! Don’t disregard this because you see the word honey and think this is going to be a nasty and sticky shower gel. This has made a huge difference in my skin - and it’s not sticky at all! And it washes off so easily but leaves my skin so hydrated.
It will gunk up your razor, fair warning. I’ve been using it for months so I have a system. I put the shower gel on my loofah, scrub myself down, rinse, and then shave. I don’t need more gel to shave since my skin is protected from the ingredients in the shower gel. My skin is so soft and shiny and moisturized. You have to try this.
Full disclosure - this is not my recipe. I follow Melly Sanford on IG - if you don’t, I highly recommend her! She’s amazing. She calls this the Fountain of Youth Shower Gel. I didn’t have Frankincense the first time I made it so I left it out but I did add it to this batch. It does last quite a while, you don’t need much.
Ingredients:
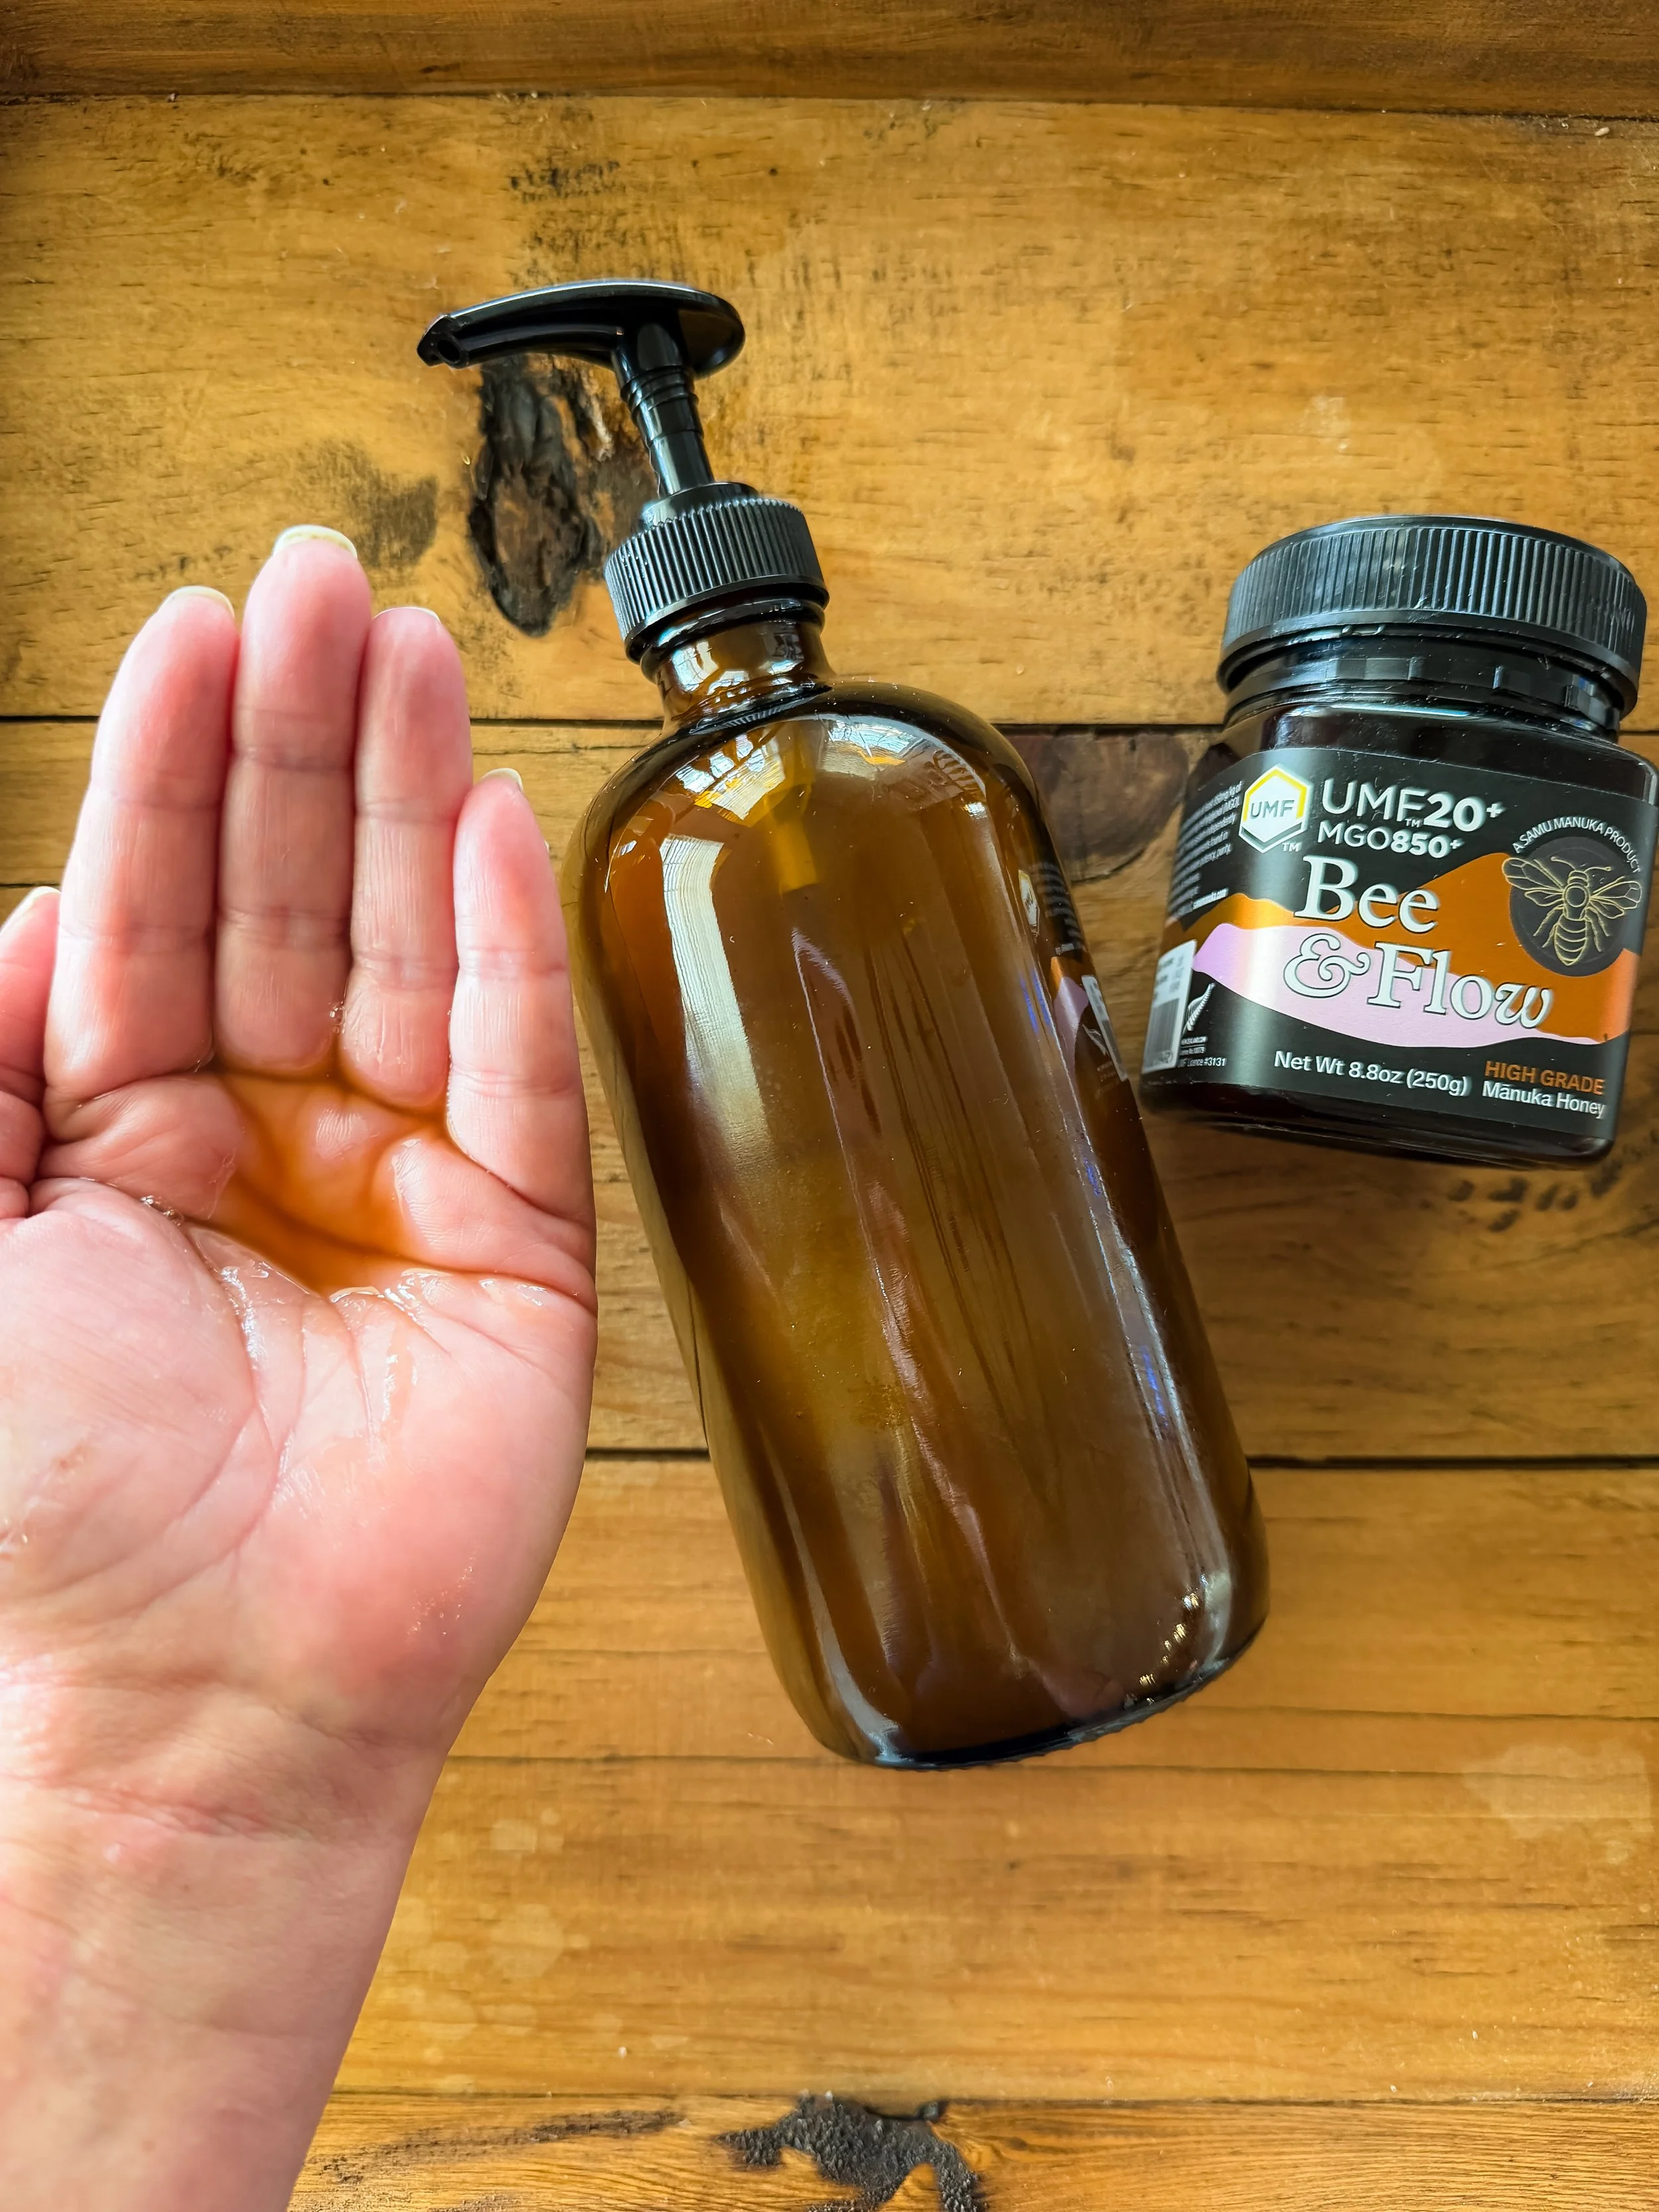
1/2 c Honey - I used Manuka Honey for it’s antibacterial properties but you can use regular honey too
1/4 c Castor Oil
1/4 c Jojoba Oil
1/4 c Castile Soap - I bought a big jug because it has so many uses but you can get a smaller bottle
20 drops of Frankincense Essential Oil
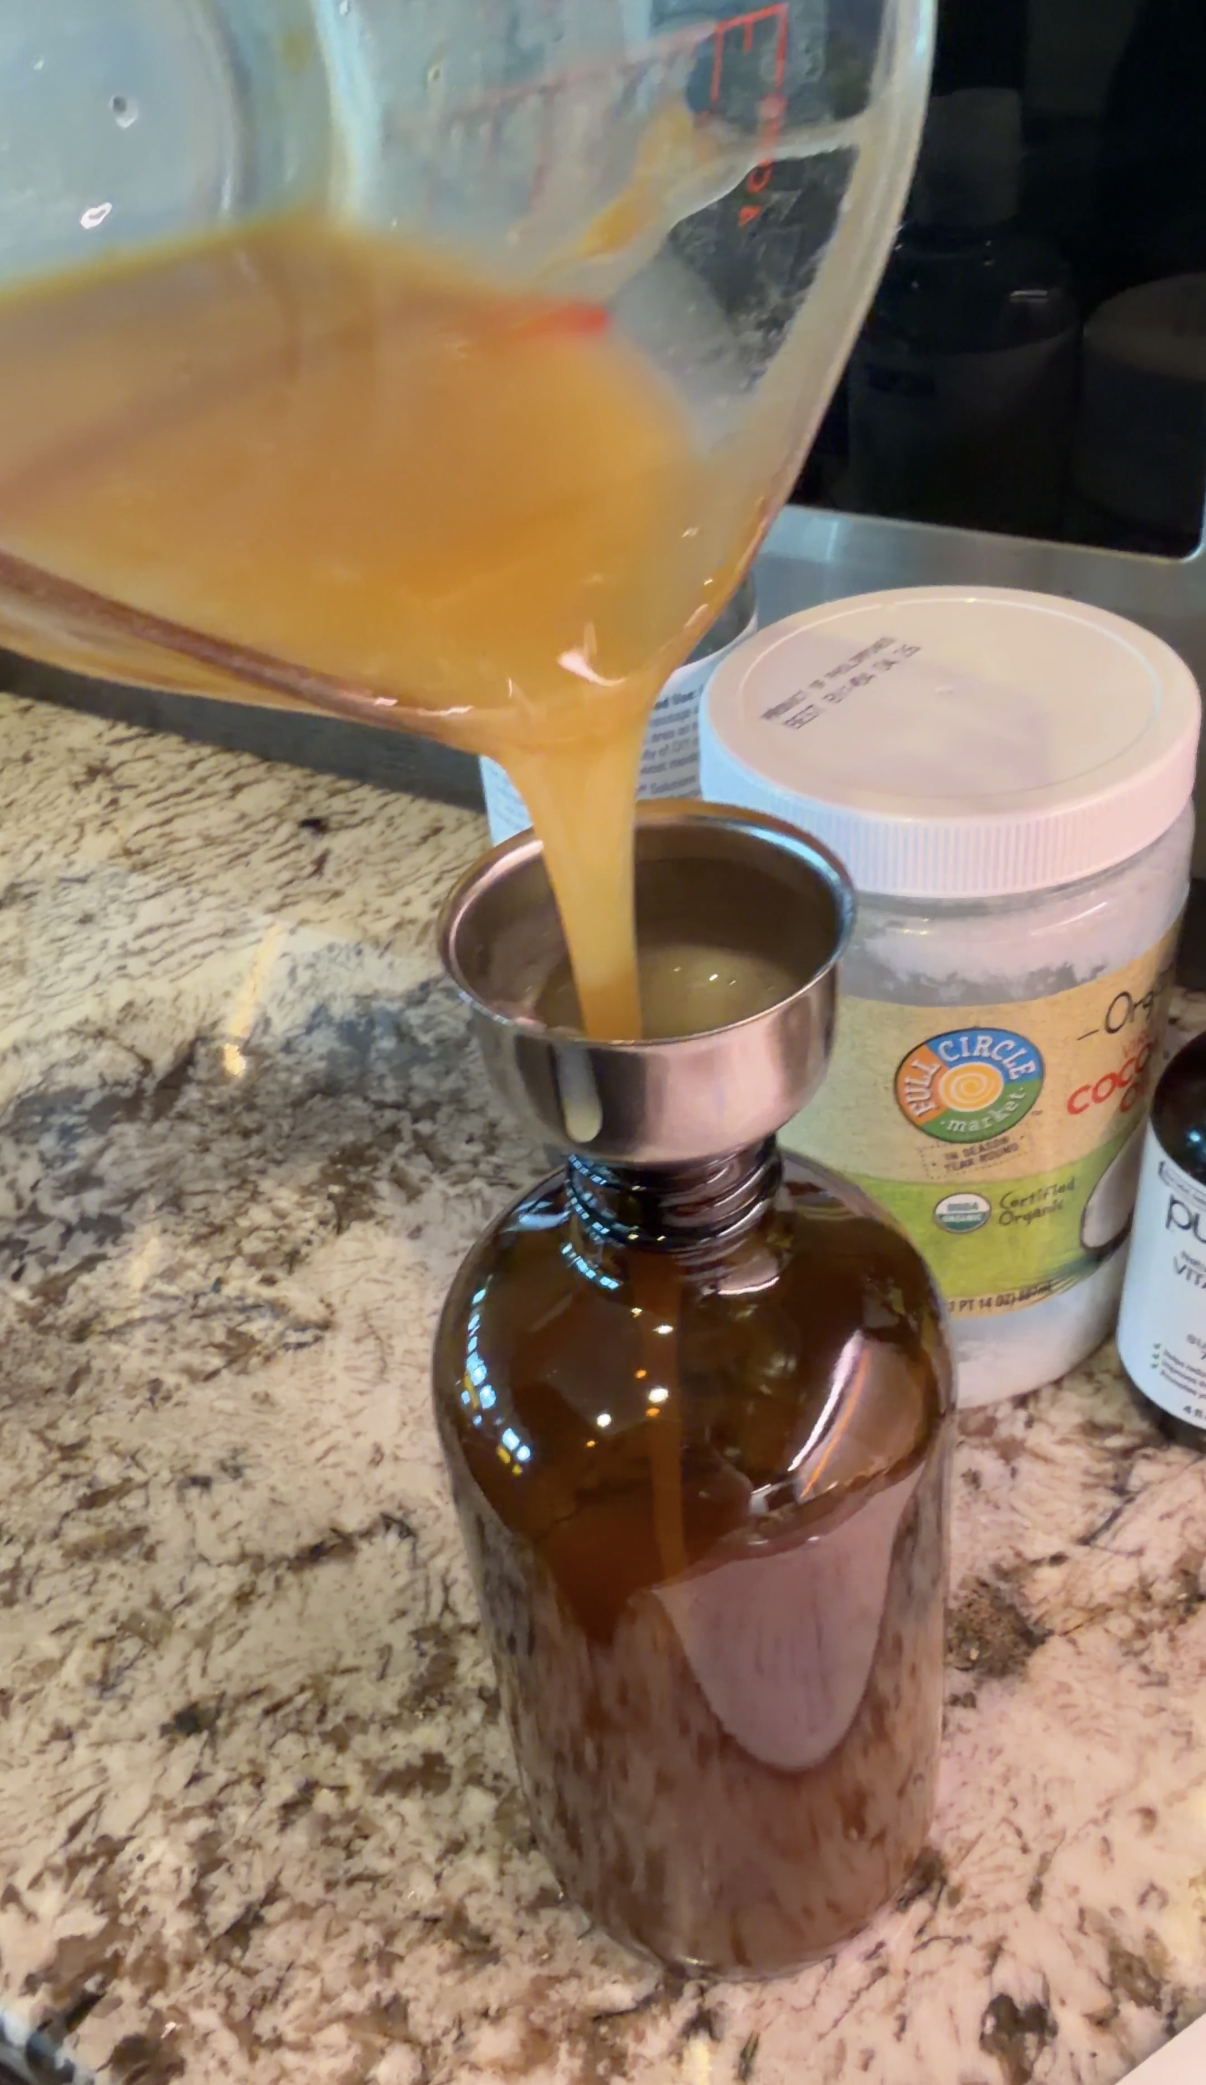
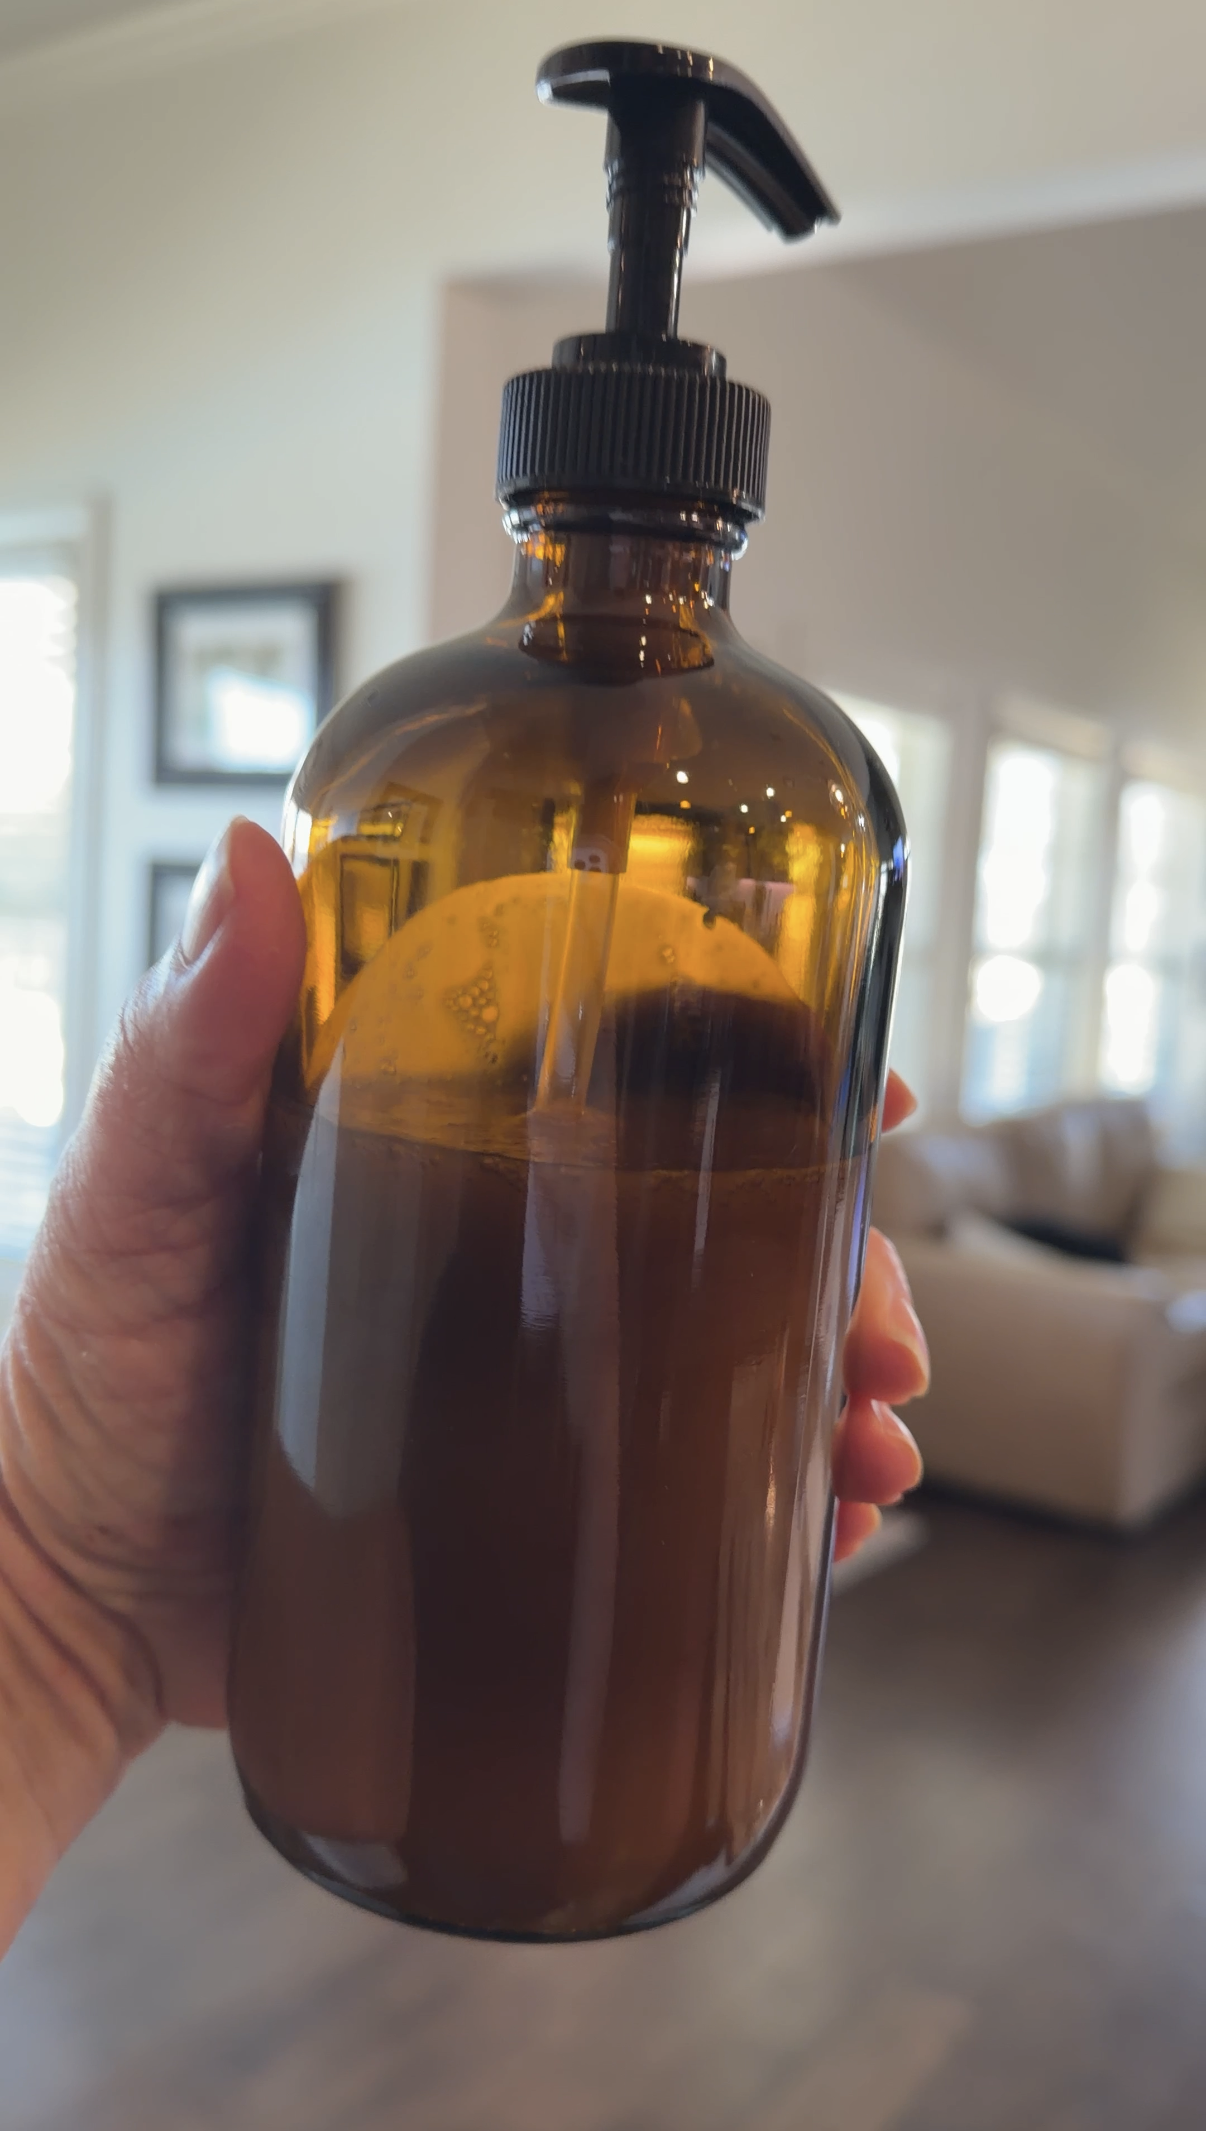
Mix it all together and pour it into a container. The first time I made it, I had cleaned out my old shower gel plastic bottle. Now that I know I love this stuff, I bought glass pump jars to keep it on. Glass in the shower, I know, yikes. But the less plastic we can use, the better. And my clumsy husband isn’t using it so it just sits on the shelf, haha!
What are the Benefits of the Manuka Honey?
Manuka Honey only comes from the Manuka tree in New Zealand - it’s pricey, for a reason. The benefits include antibacterial and anti-inflammatory properties, as well as skin soothing for conditions such as eczema, psoriasis, etc. It works great on acne, wonderful for wound healing, is super hydrating, brightens skin, can lessen scars and has anti-aging benefits.
The higher the MGO (the grading system to make sure it’s legit Manuka Honey), the more antibacterial it is. If you don’t really need antibacterial and healing, then use a lower MGO or regular honey. Because of my eczema, I use the highest one I can. I even just do a Manuka Honey mask on my hands and let it sit for 10-15 minutes and rinse it off. The relief is instant.
Trader Joe’s has a decent Manuka Honey, if you have one near you, and it’s pretty affordable. Just be sure to do your research if you buy it elsewhere because not all Manuka Honey is legit.
What’s the benefit of Vegetable Glycerin?
It provides deep hydration without clogging pores. Vegetable Glycerin draws moisture from the air into the skin and then holds it there. It’s also a gentle cleanser without stripping skin.

Castor Oil Wrinkle Roller
I wanted to include one last simple skincare oil I’ve added to my routine. I saw it on Pinterest and Melly also shared it. Since I already had the ingredients from making the above, I decided to give it a try and my face is glowing!
Castor-Jojoba Wrinkle Oil
Ingredients:
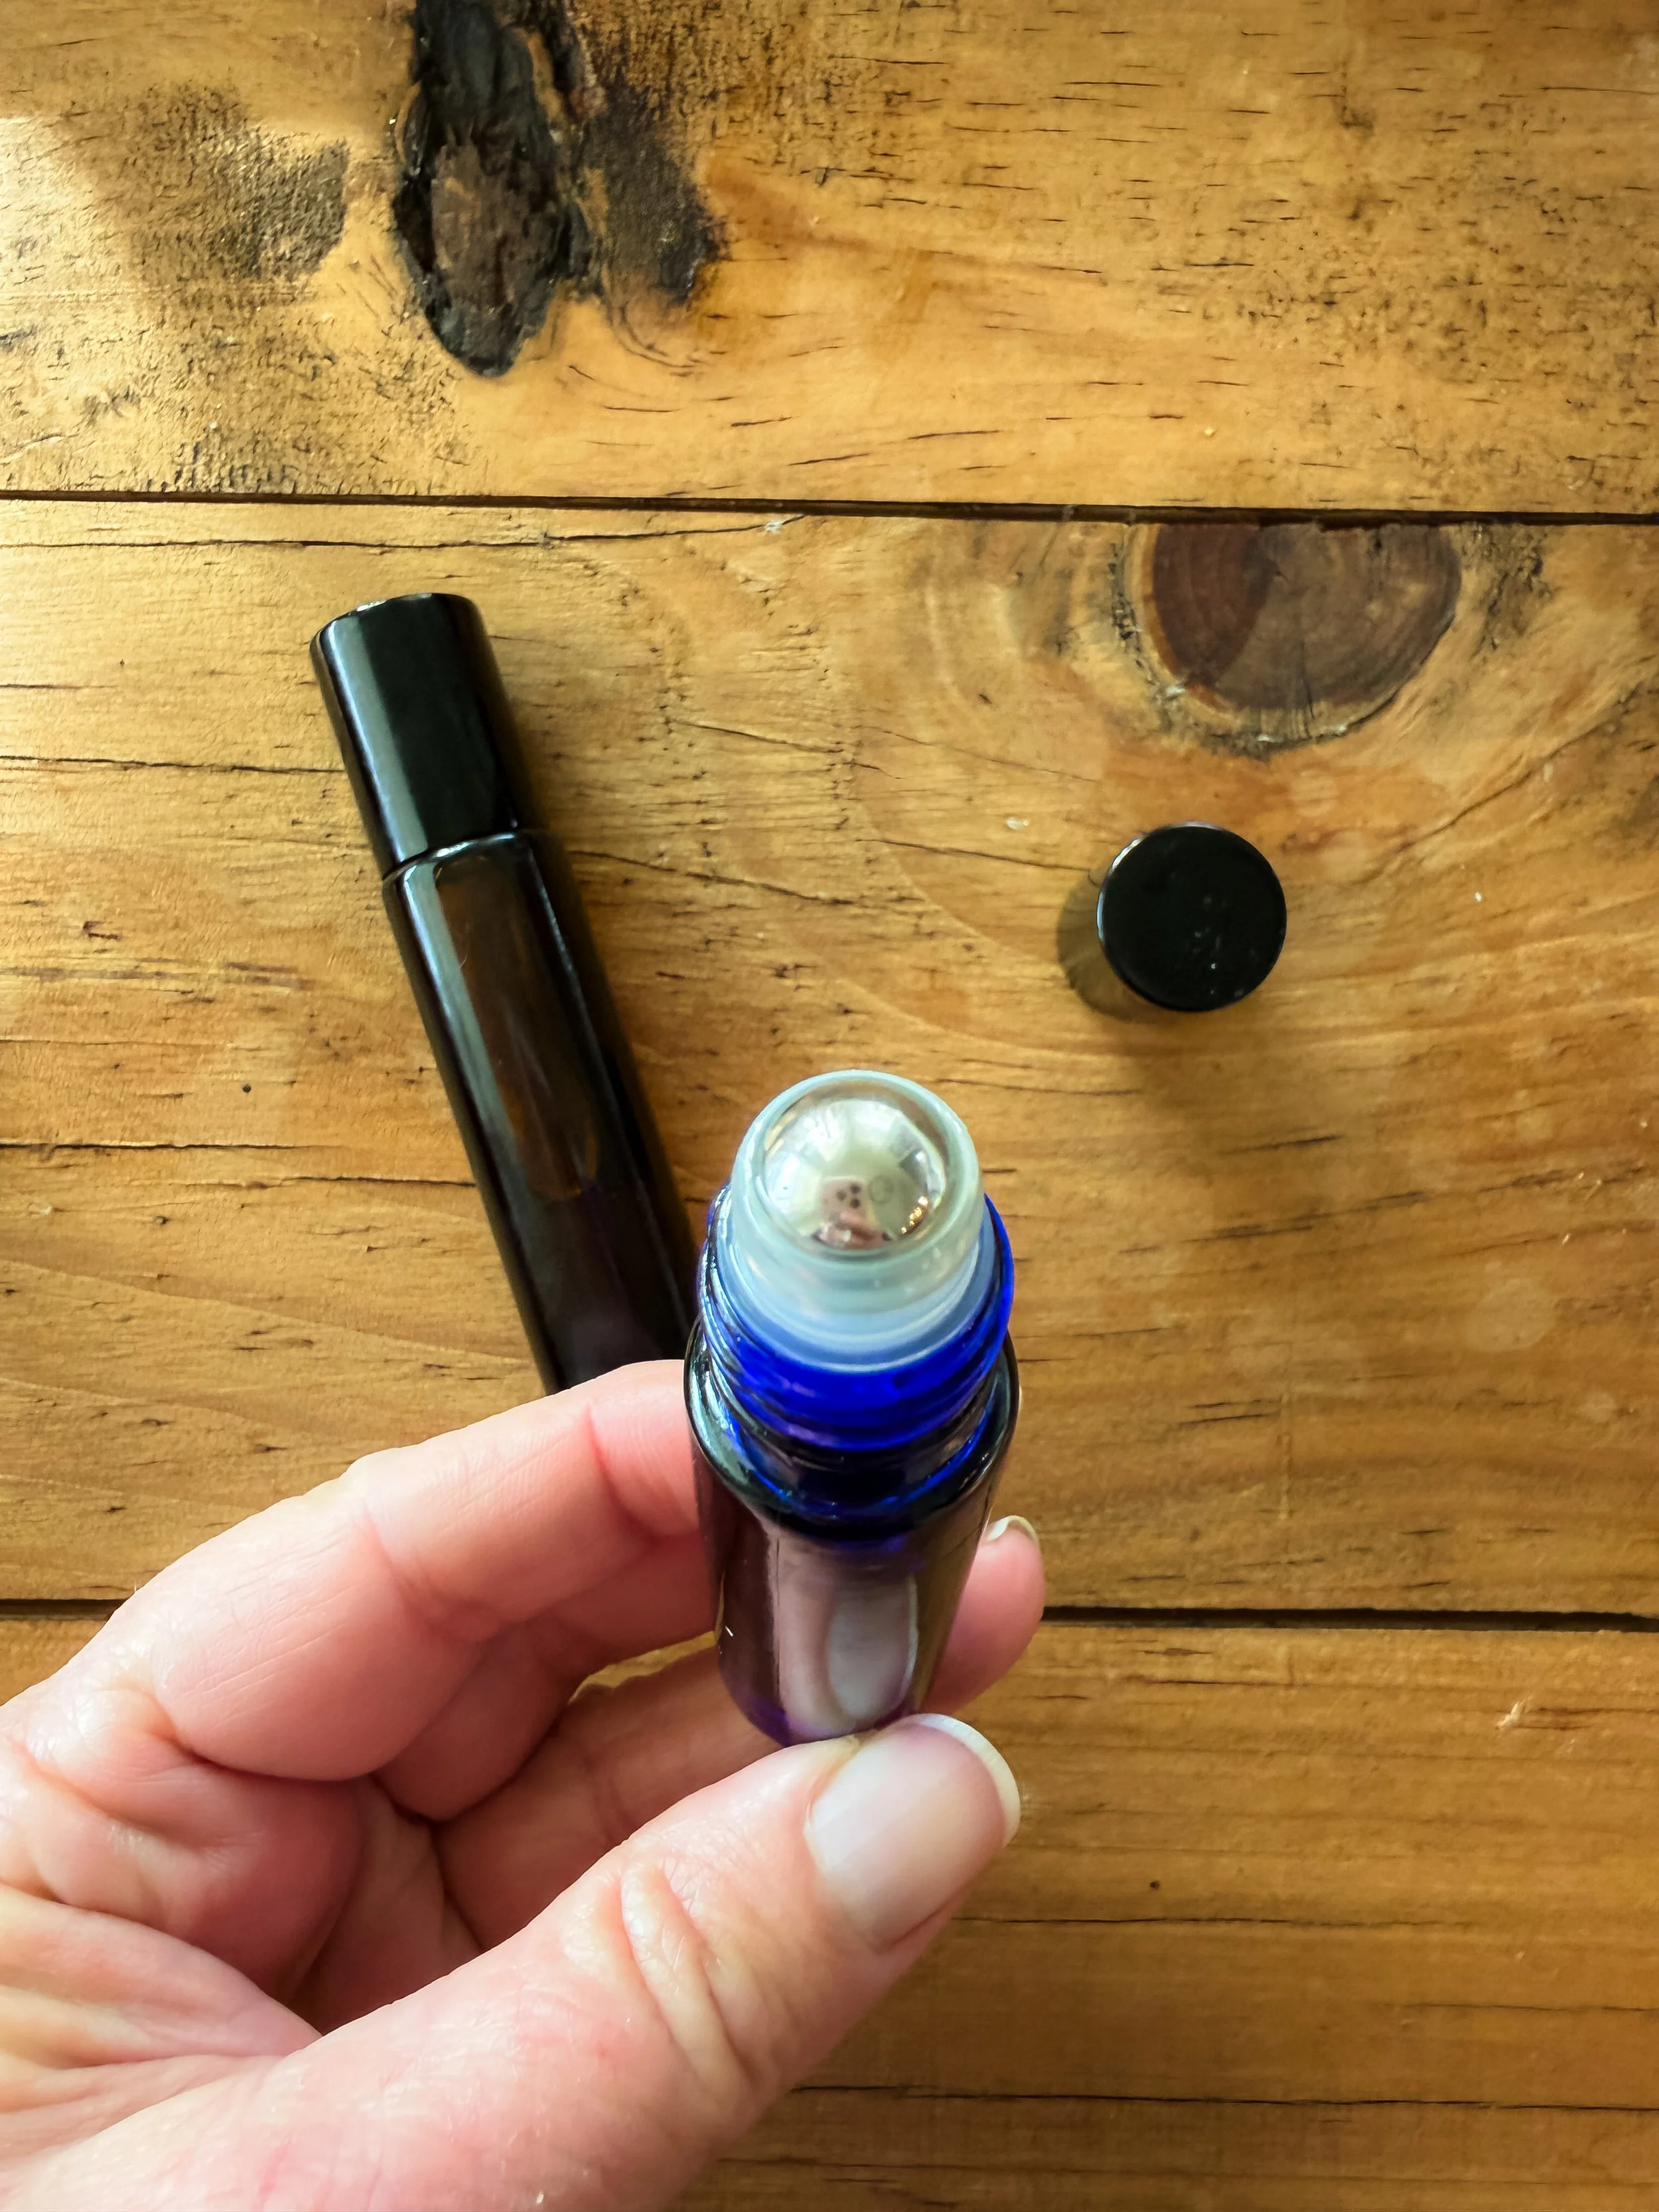
Fill the roller bottle half full of castor oil and the rest of the way full of Jojoba oil, leaving a little room at the top - add 20 drops of Frankincense oil. Shake it and roll it on wrinkles morning and/or night. The high concentration of ricinoleic acid encourages collagen production. Castor oil itself can be harsh so the Jojoba oil acts as a carrier oil, while also providing skin benefits.
Jojoba oil provides deep hydration without clogging pores. It balances sebum production and is also antibacterial and antimicrobial, so it can help fight acne. It soothes skin and is rich in Vitamin E so it has anti-aging benefits. It can also act as a natural makeup remover.
I’ve been rolling this on my wrinkle areas at night after my nighttime skincare routine and then also in the morning after my skincare routine. One thing I really like is that after I apply my eye makeup, I’m able to just wipe away any that transferred under my eyes, without needing to add concealer, which can sometimes fall into those fine lines. My skin is absolutely glowing lately and I love it!
I hope you love these recipes and they help your skin the way they’ve helped mine. Let me know if you have any questions!